The recent LTT video “The Most Exciting PC Hardware in YEARS– Frore AirJet Cooler” has generated over 2.4 million views. Given that, we are guessing LTT’s latest video about AirJet “Apple please watch this - WE FIXED IT” will generate a lot of interest as well… so we thought we would give everyone a behind-the-scenes, in-depth view of how it all went down, step-by-step.
While we regularly integrate AirJet into devices to achieve massive increases in performance at Frore Systems, nothing says “the real deal” like an unbiased third party doing the integration and demonstrating the benefits of our product. So when we told LTT that we could achieve a 67% increase in the performance of a MacBook Air, enabling it to perform as well as its bigger and more powerful brother, MacBook Pro, they were interested in putting our claims to the ultimate test… so we accepted the challenge of letting Linus do the integration on camera for an LTT episode.
A quick primer on the AirJet: Airjet is a solid-state active cooling chip. What does that mean? It is a small piezoelectric, chip-like device that has no moving parts, yet can move air in ultra- compact spaces to cool electronic devices. When electronic devices are cooler, they can run faster, increasing performance, meaning you can get more done. You can find out more about how AirJet Works here.
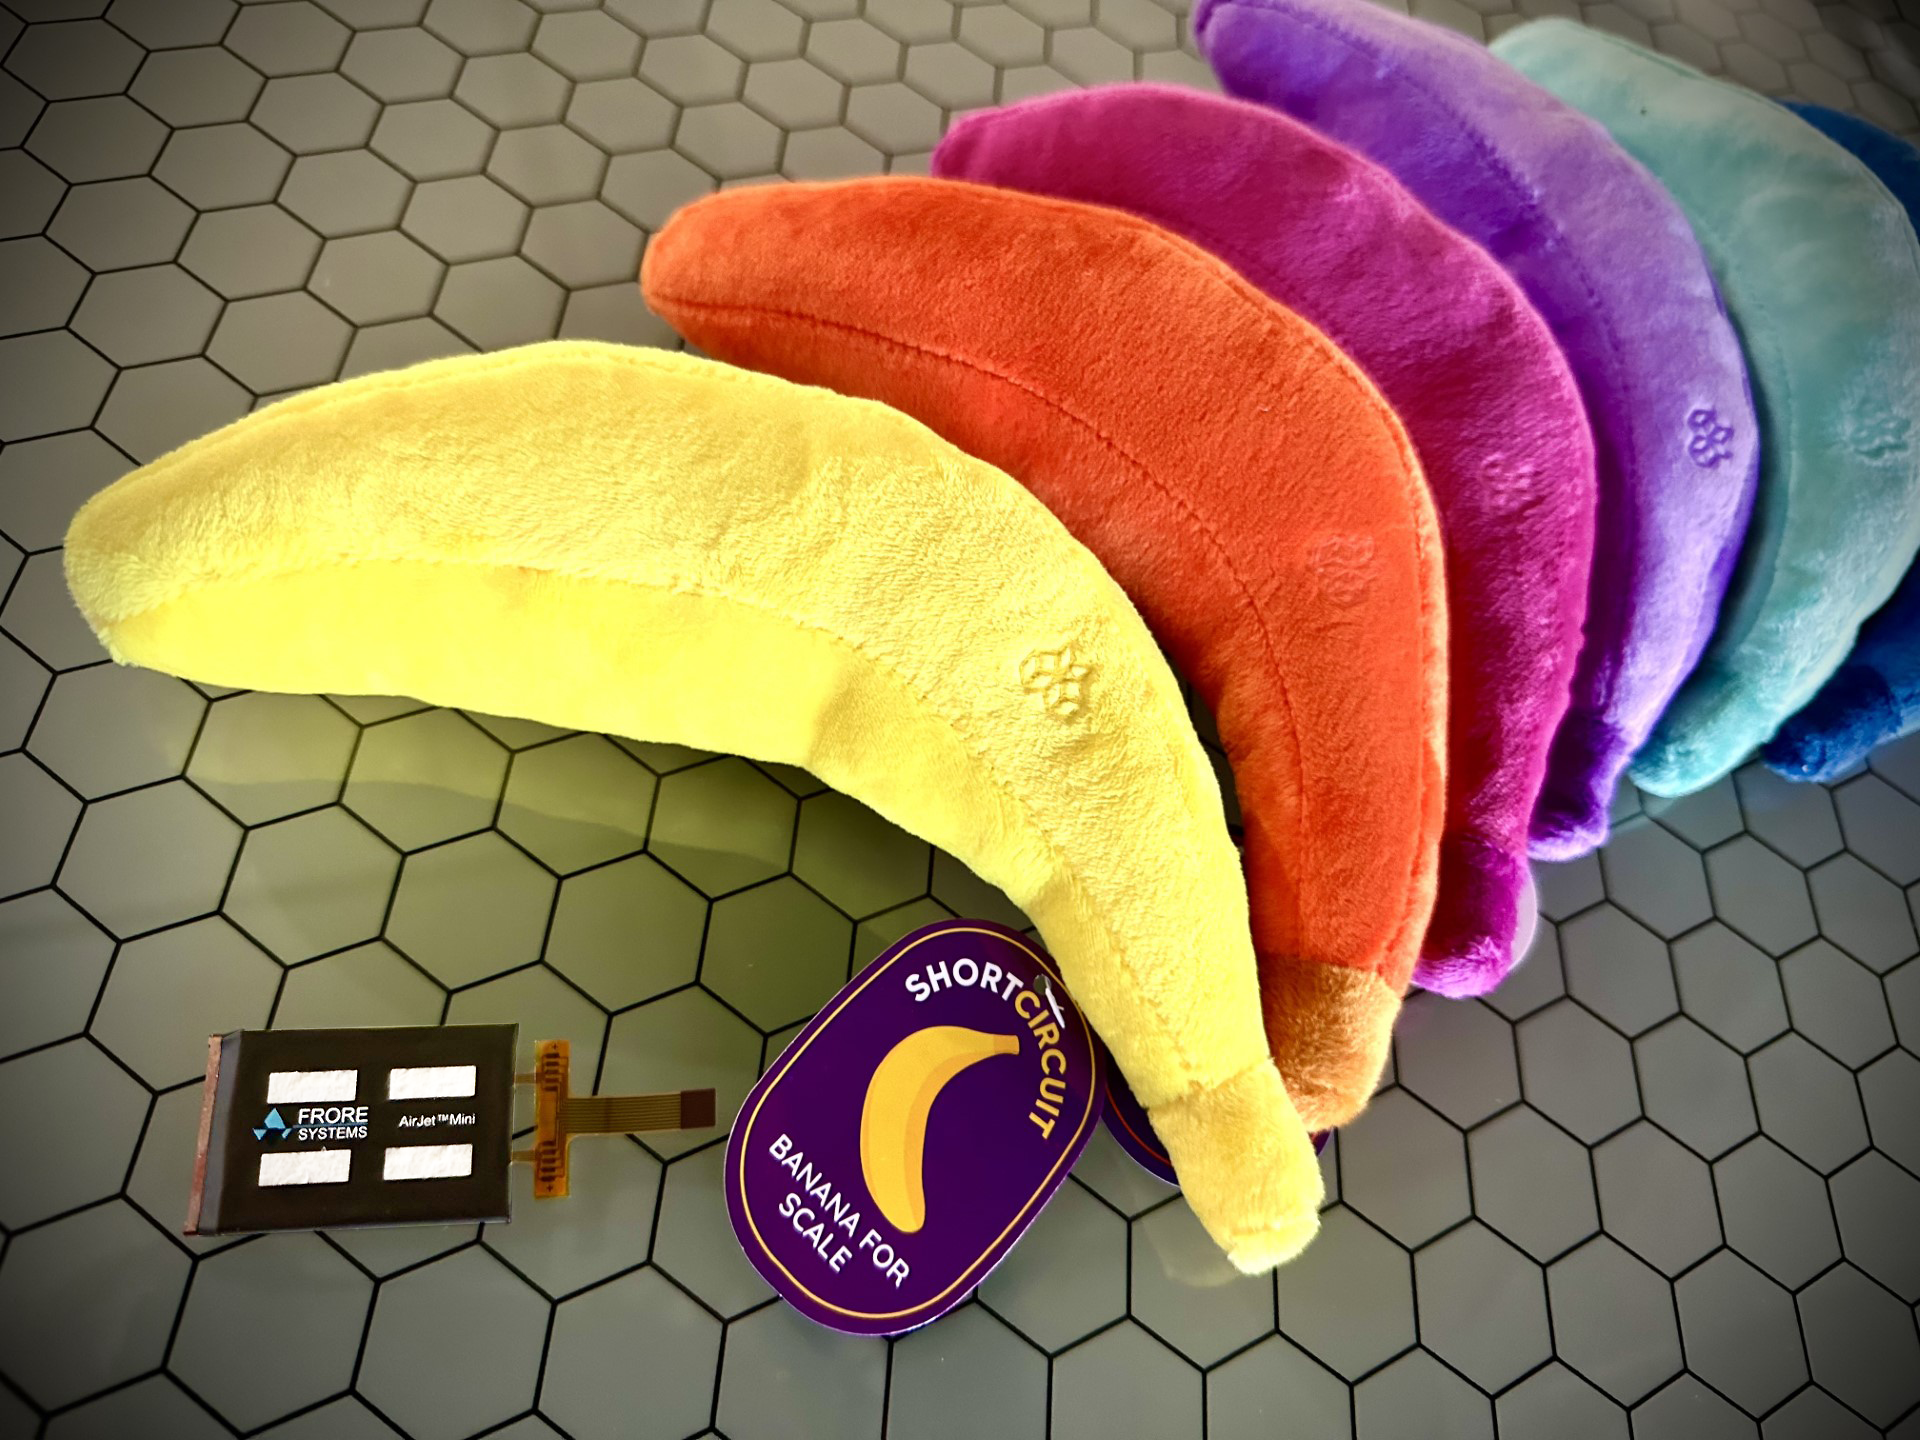
AirJet chips are small, just 41mm x 27.5mm by a mere 2.8mm high (see it measured below with the LTT ShortCircuit Banana for Scale acquired especially for this purpose), and make devices faster, quieter. thinner, lighter and dust-free.
We arrived at the LTT Headquarters in Surry BC - about 40 mins from Vancouver Airport - on a rainy morning, armed with 4 MacBooks:
- Off-the-shelf MacBook Air for Linus to modify
- Off-the-shelf MacBook Air for baseline measurements
- One MacBook Air upgraded with AirJet by Frore Systems
- Off-the-shelf MacBook Pro

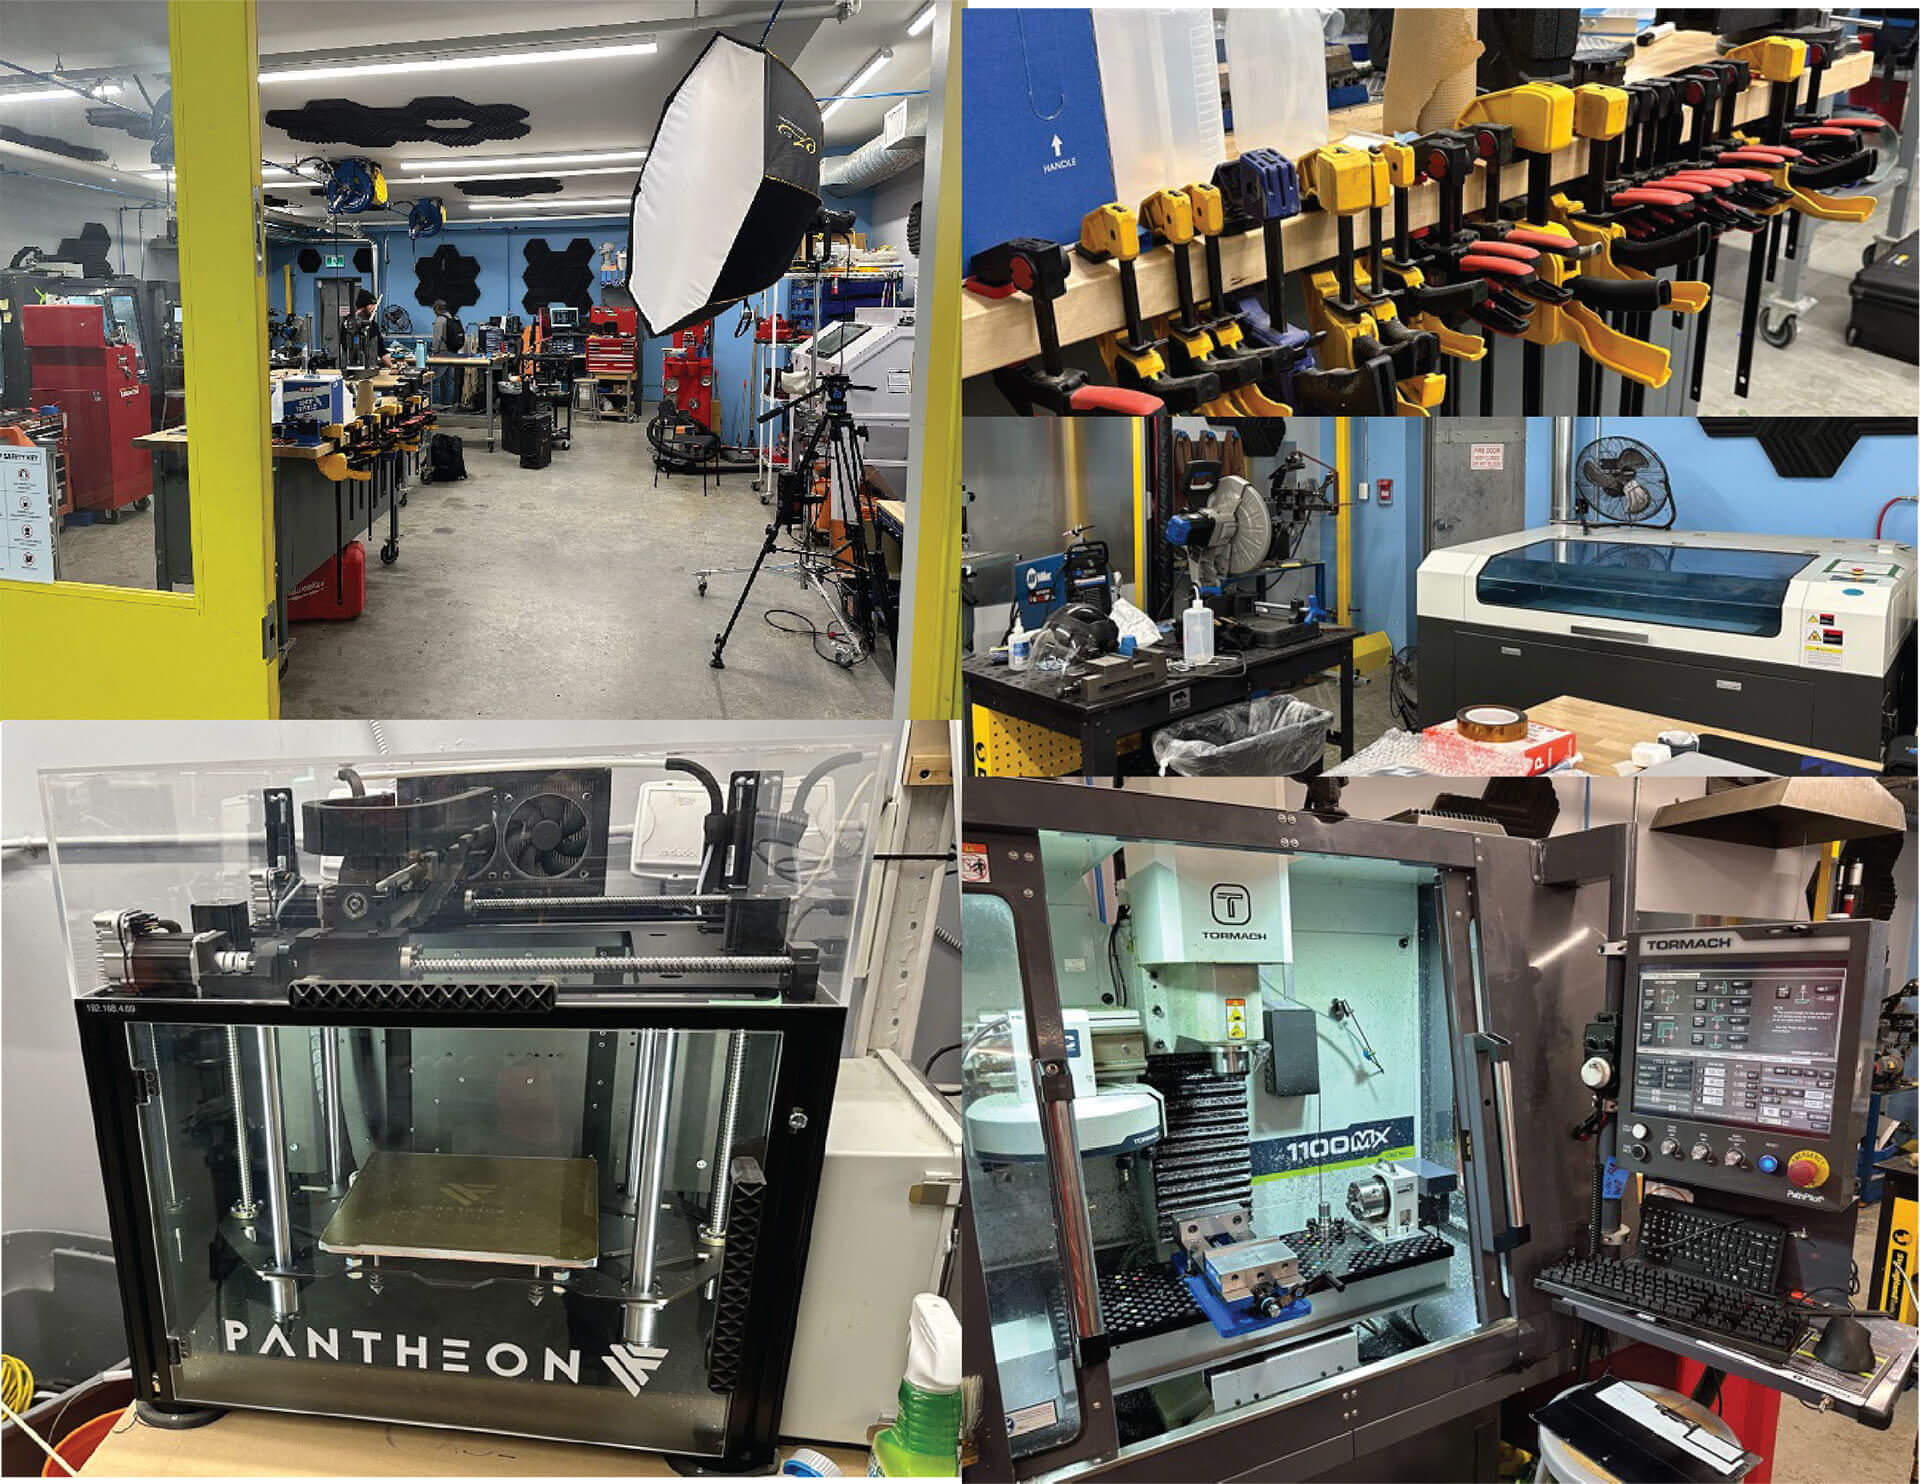
Alex met and escorted us to the huge, incredibly well equipped LTT workshop – complete with 3D printers, laser cutters, a Tormach MC 1100MX Mill (which comes in really handing for the their crazy prototyping and production ideas), a sand blaster, loads of sound deadening materials (some of which was falling off) and randomly, what seemed like hundreds of F clamps (although apparently some of Linus’ favorites were MIA) - where they would carry out the MacBook Air AirJet upgrade. For anyone interested in a tour of the LTT HQ, see our “Behind-the-Scenes @LTT – HQ Tour” is coming soon.
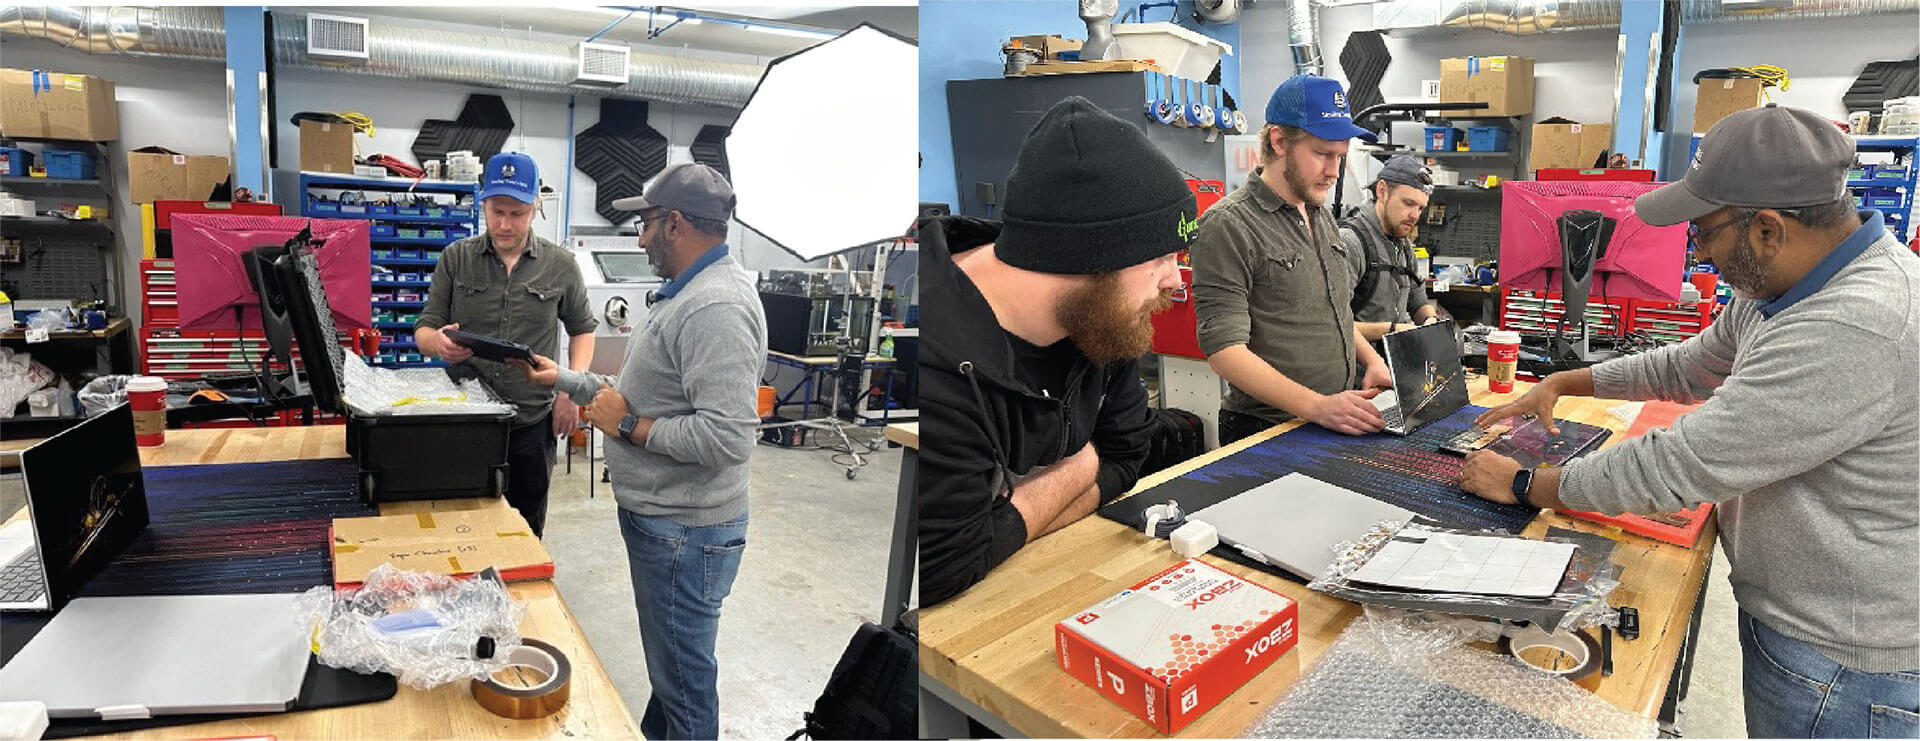
Shekhar, Frore Systems’ amazing Customer Engineering Director, carefully unpacked everything that would be needed for the project and explained the approach for upgrading the MacBook Air with the three AirJet Minis.
And just like that we were ready to start recording the MacBook Air Upgrade.

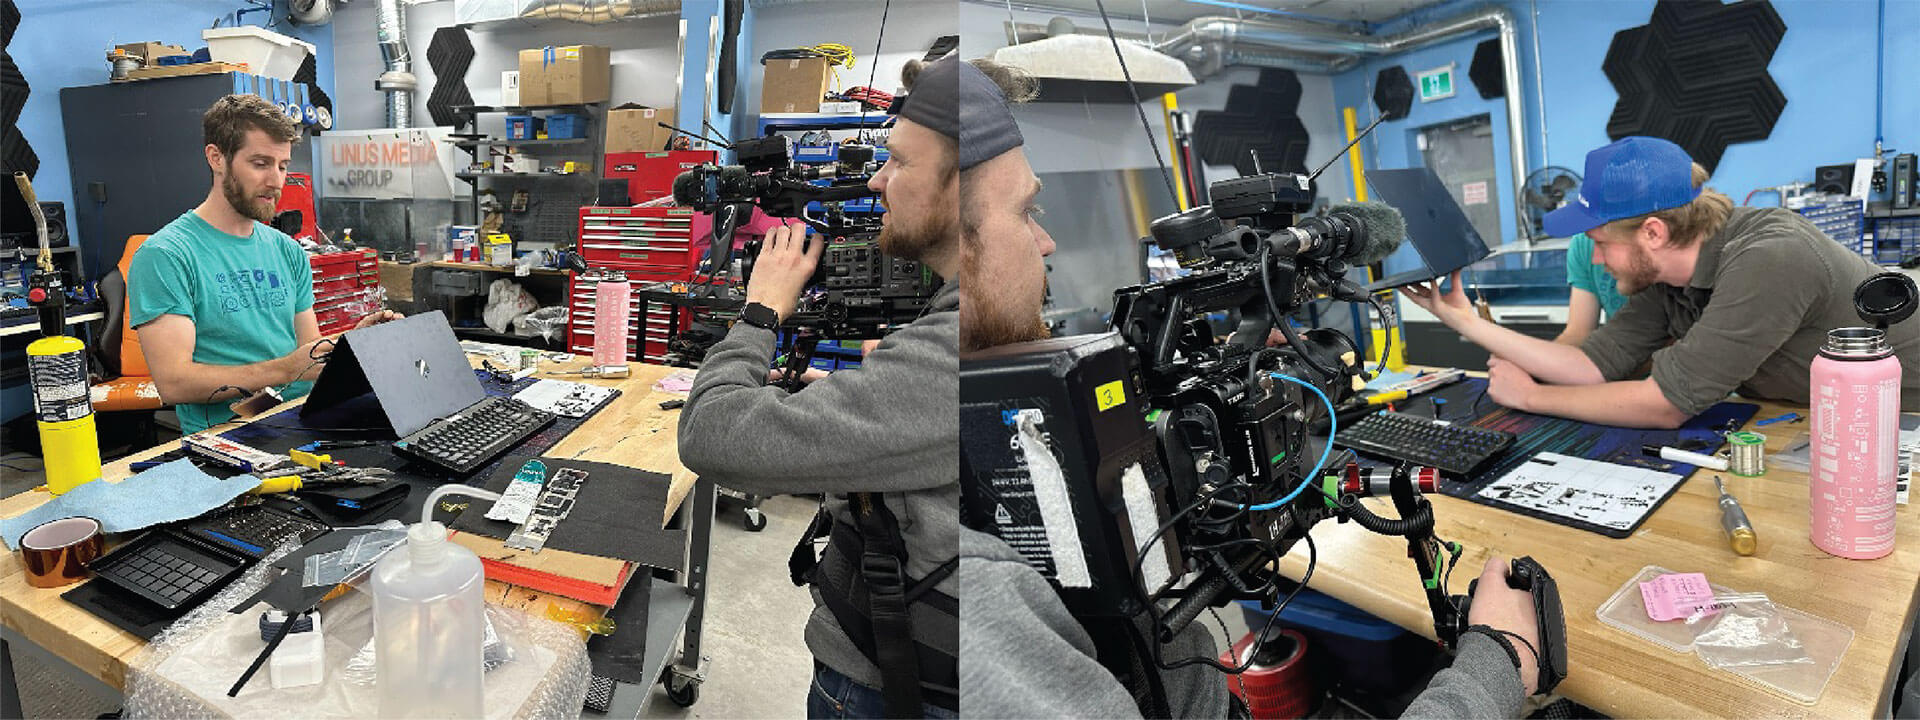
Mid-morning, Linus walked in and, after an incredibly brief briefing, was off and running, upgrading the MacBook Air with three AirJet Minis. Once or twice we may have cringed a little as he enthusiastically jumped into the tear down (we obviously wanted the device to perform at its best for the comparison demos) but it was pretty amazing to watch the speed with which he took the device apart – you’d think he may have done this once or twice before. We couldn’t help but think of Linus as the Tom Cruise of technical videos, doing all his own stunt work … We’re not sure he would like that comparison, but you get the gist.
One of the things that really impressed us about Linus was his obvious passion and technical brilliance… even though Frore Systems has a group of the best thermal engineers in the world who created the design and provided step by step instructions for the upgrade, upgrading a device as precisely engineered as a MacBook Air is by no means an easy project. The MacBook Air is an incredibly well-designed machine with all the electronics fitting into an ultra-thin 7.4mm base – too thin to enable the use of a fan to remove heat, but perfect for the 2.8mm AirJet. Removing the necessary elements, incorporating the driver board and AirJet Mini Chips required to upgrade the performance of the device, and then putting it all back together requires a high degree of precision.
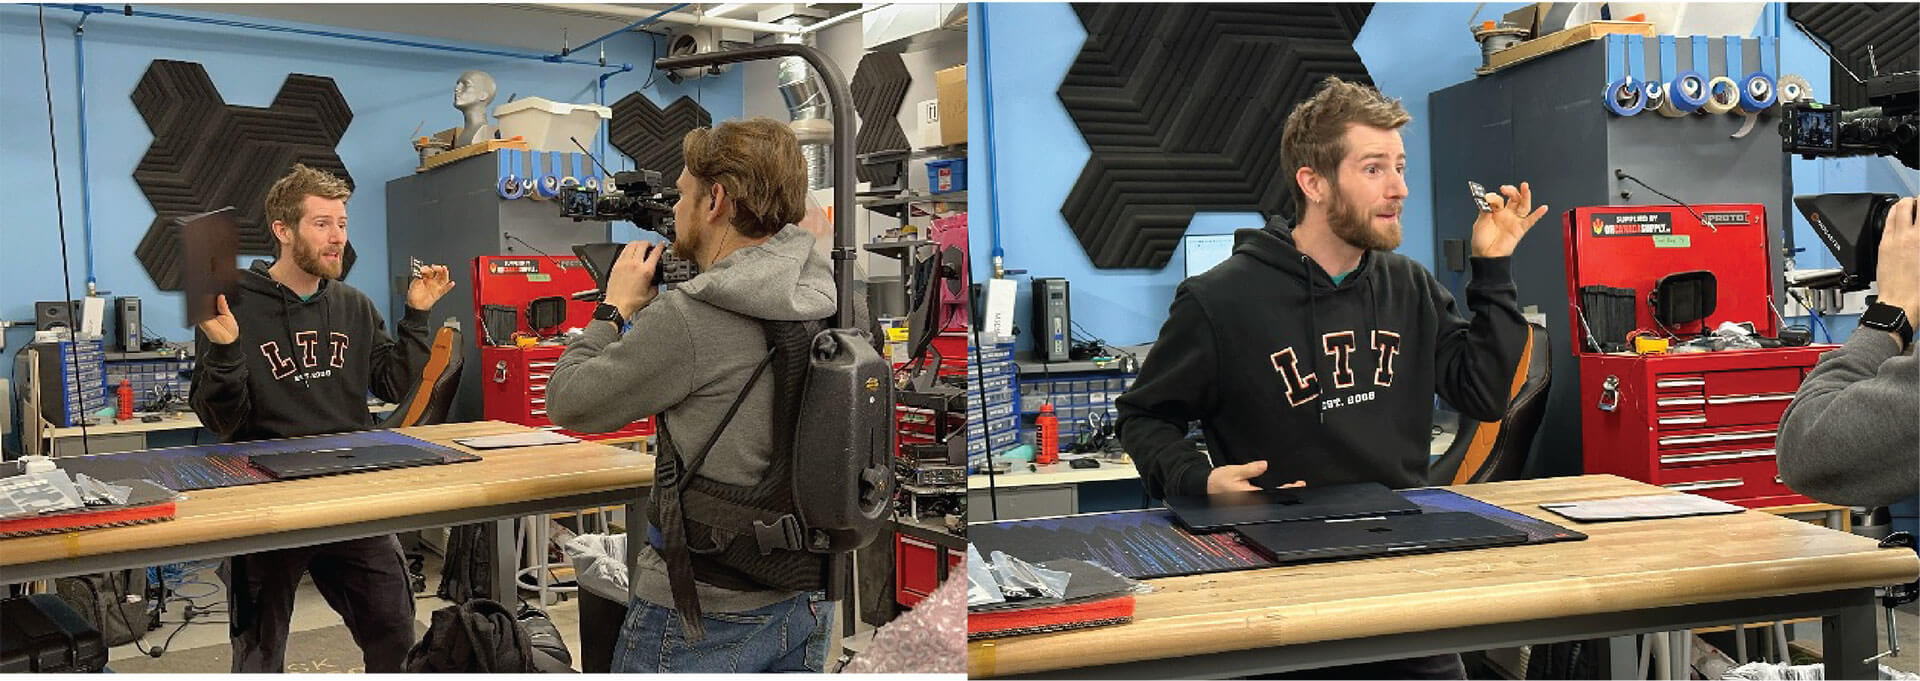
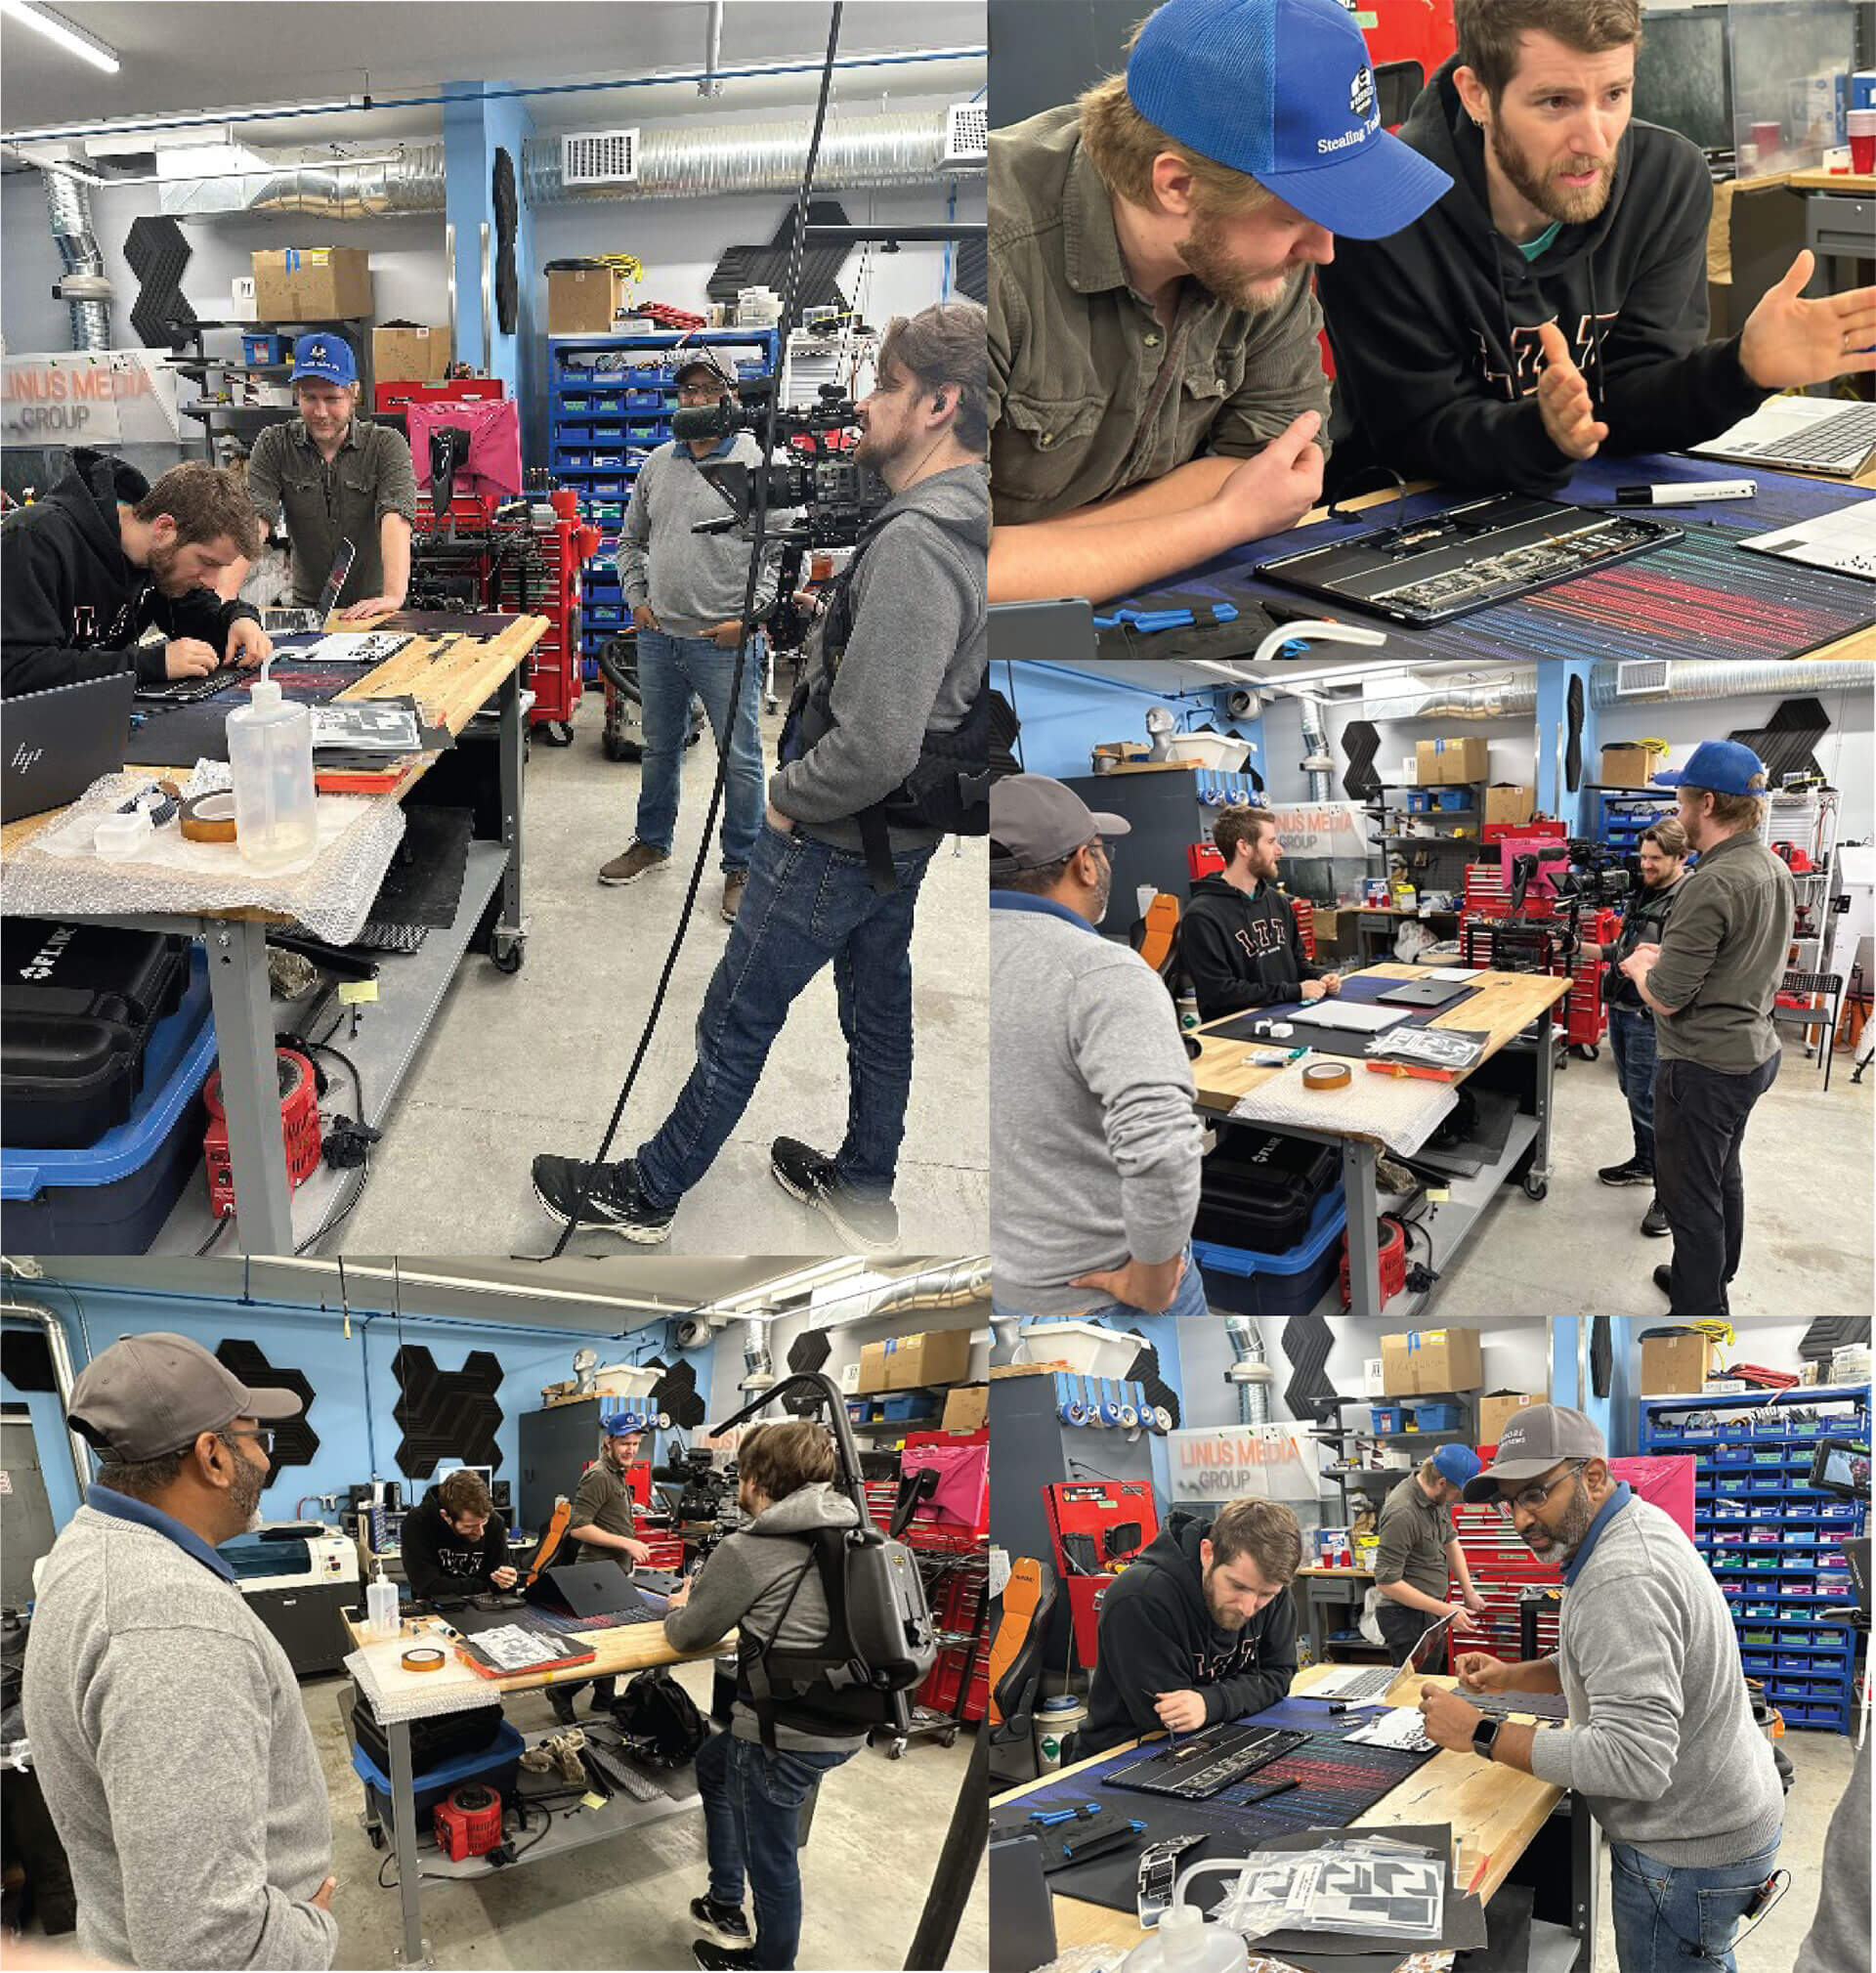
Not only is he REALLY enthusiastic… he is also extremely funny, obviously on camera, but also off camera between shots.
He is also incredibly organized… which was definitely needed with the numerous tiny litle parts rapidly piling up as he deconstructed Apple’s carefully engineered computer. Even so, four tiny screws disappeared when we asked him to take the 0.7mm vapor chamber off again, but thankfully Alex (adding “super screw finder” to his impressive growing list of skill sets) found them all, and the work continued.
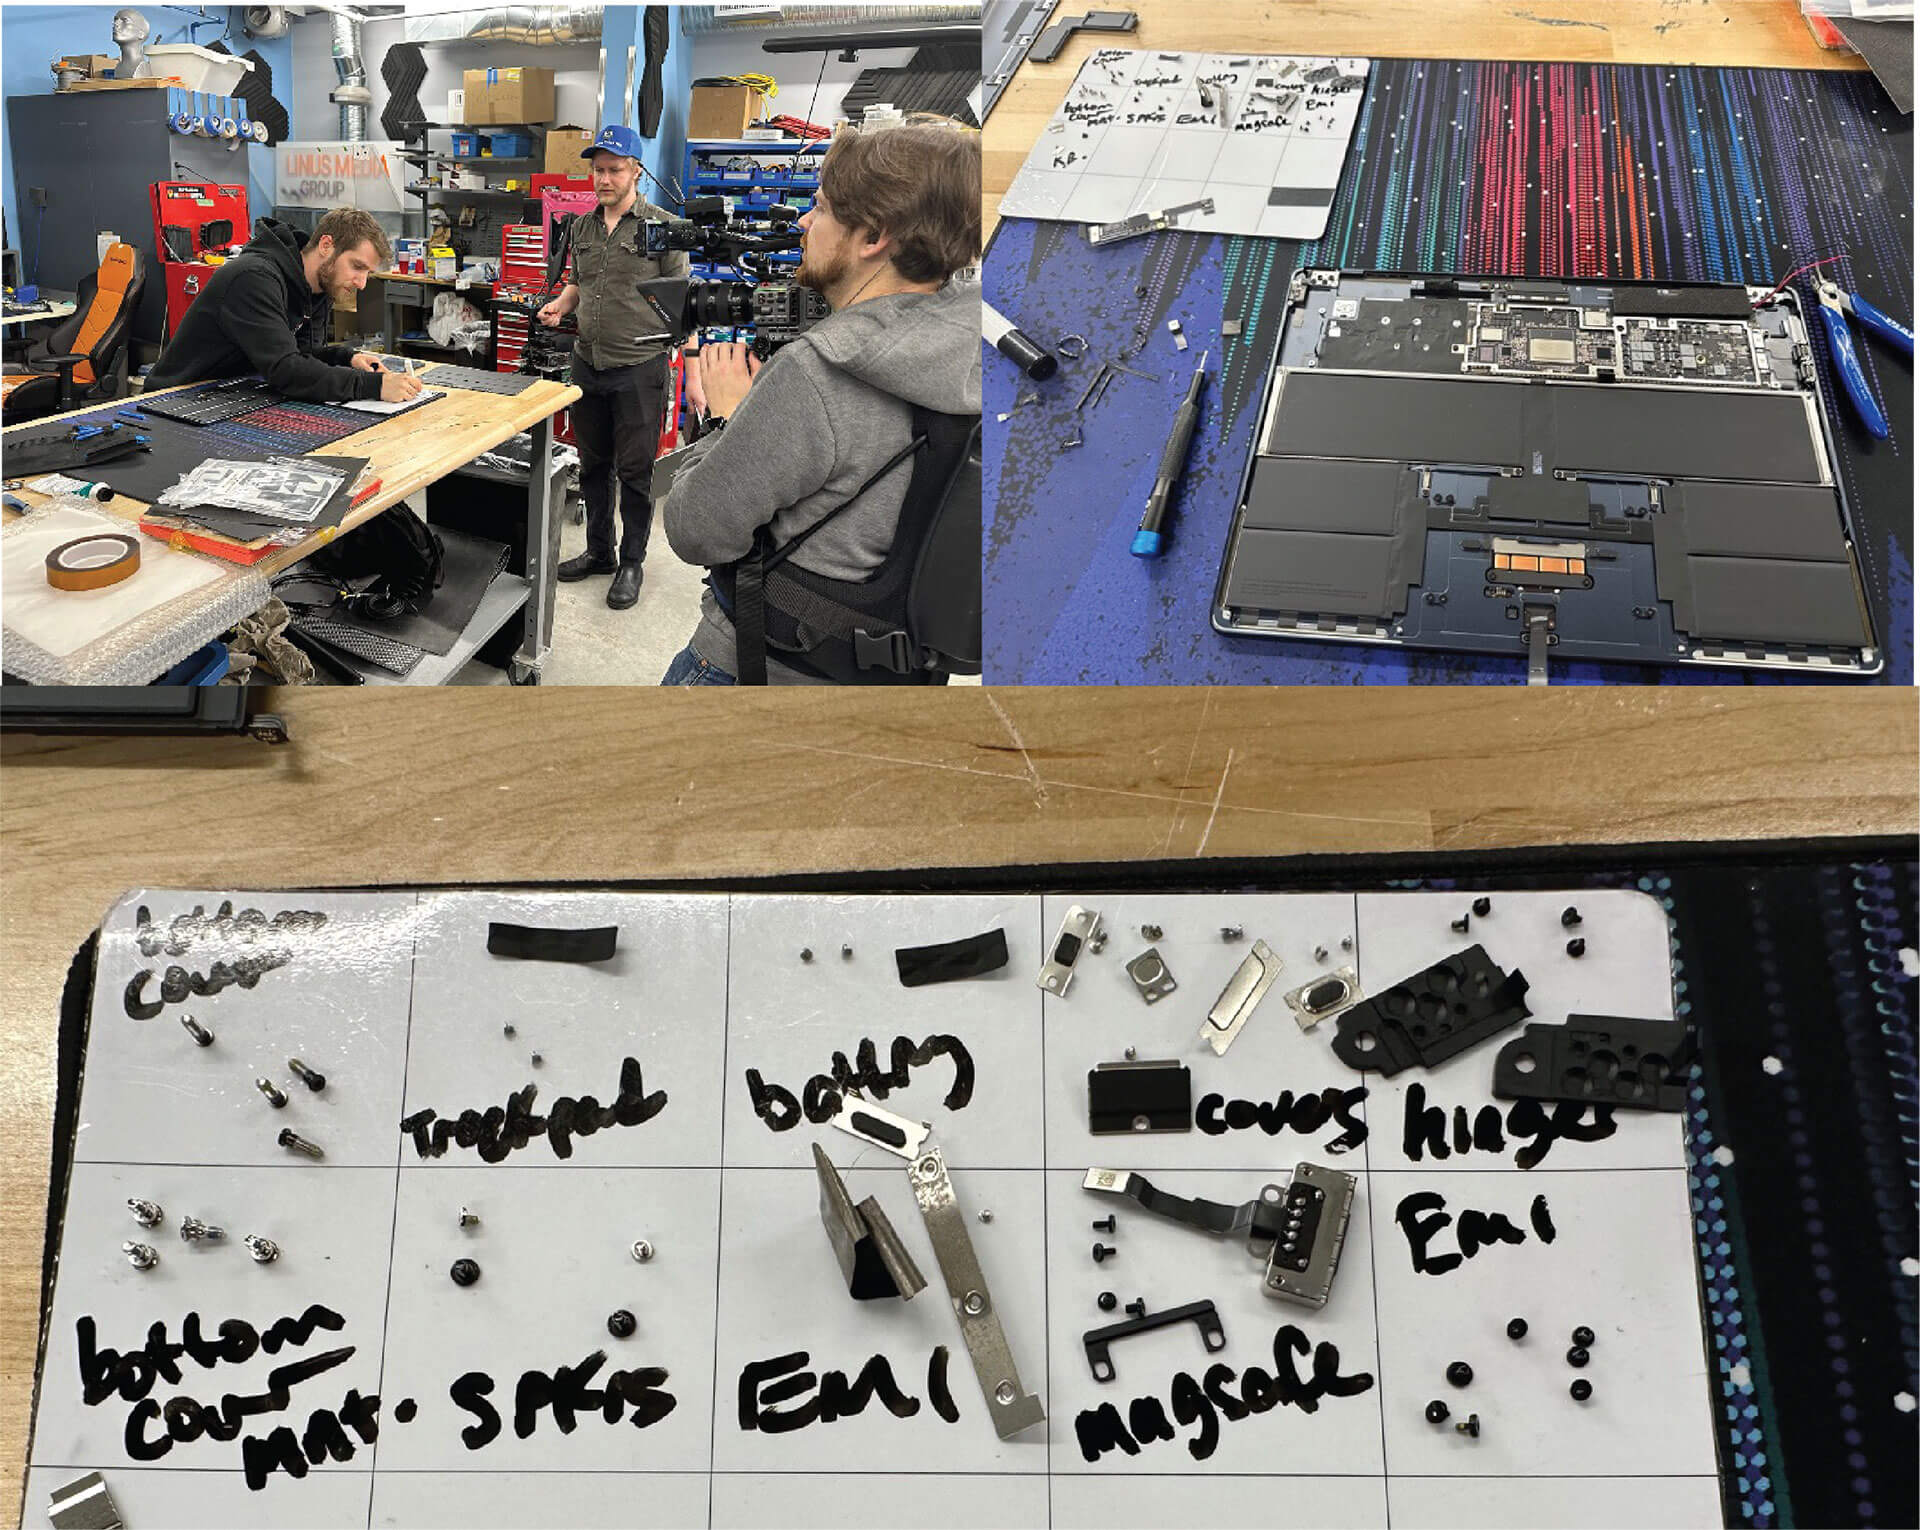
After a couple of hours, Linus had to zip out to review some of his other projects and attend some production meetings (we did mention the guy never stops, right?) So Alex continued some of the build with a litle guidance from Shekhar.
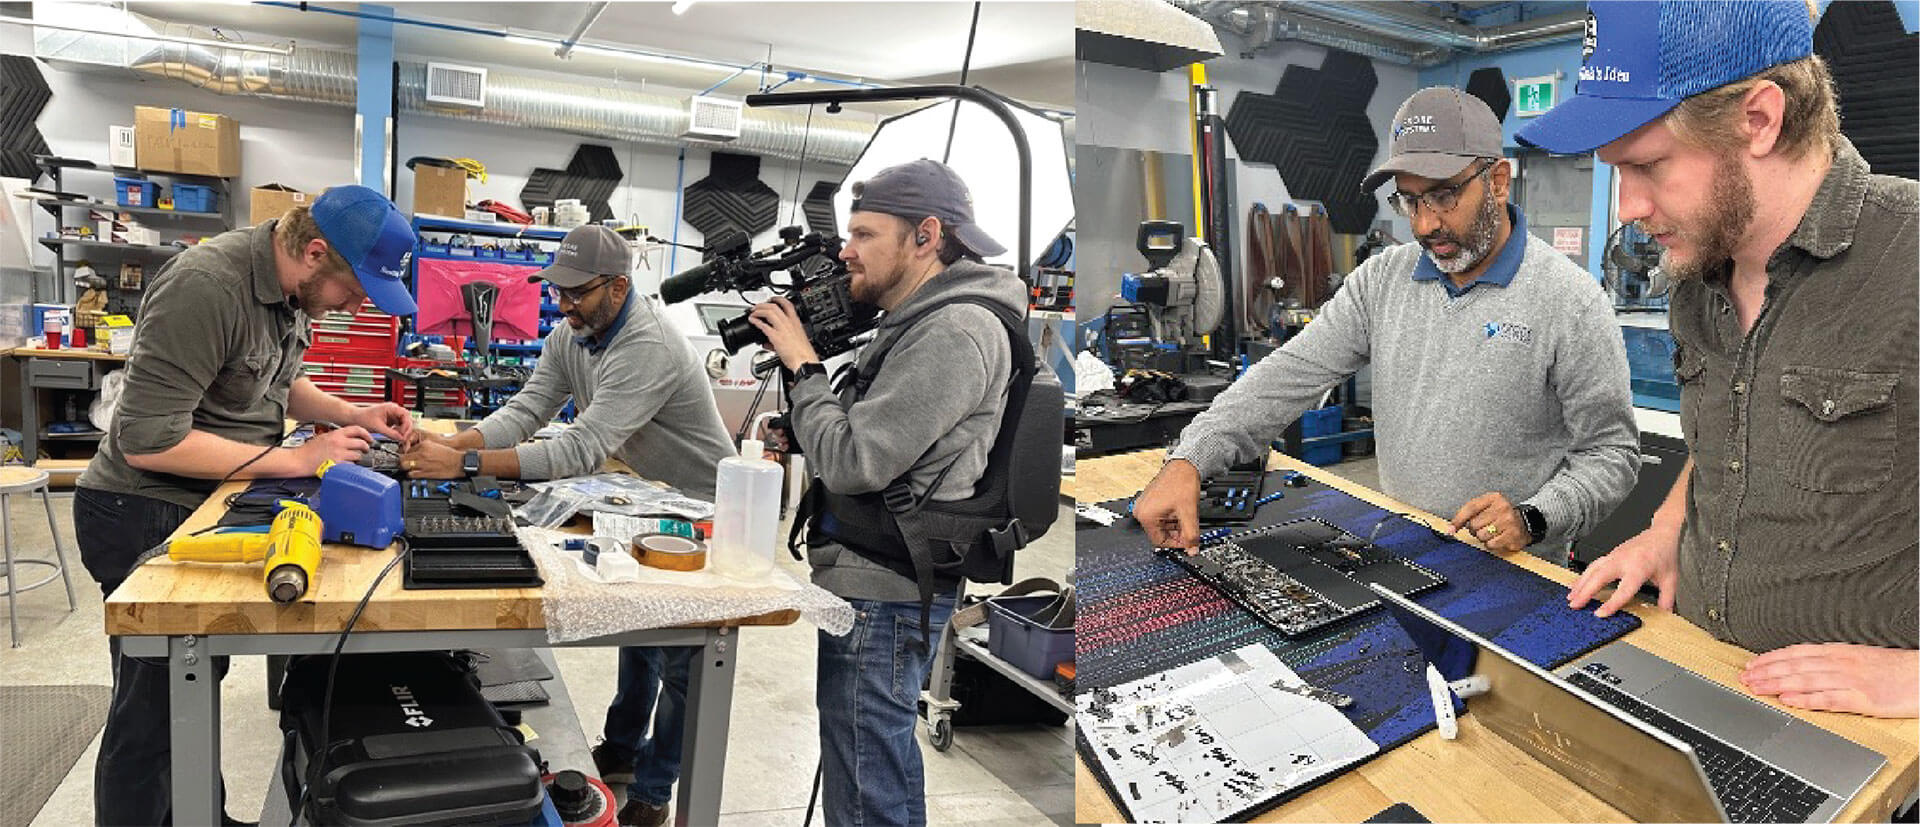
After lunch, Linus reappeared and continued working on the MacBook Air upgrade. Once finished, much to our relief, everything still worked as intended with nothing damaged in the slightly unorthodox teardown and rebuild (despite a couple of hairy moments), and we were good to proceed.
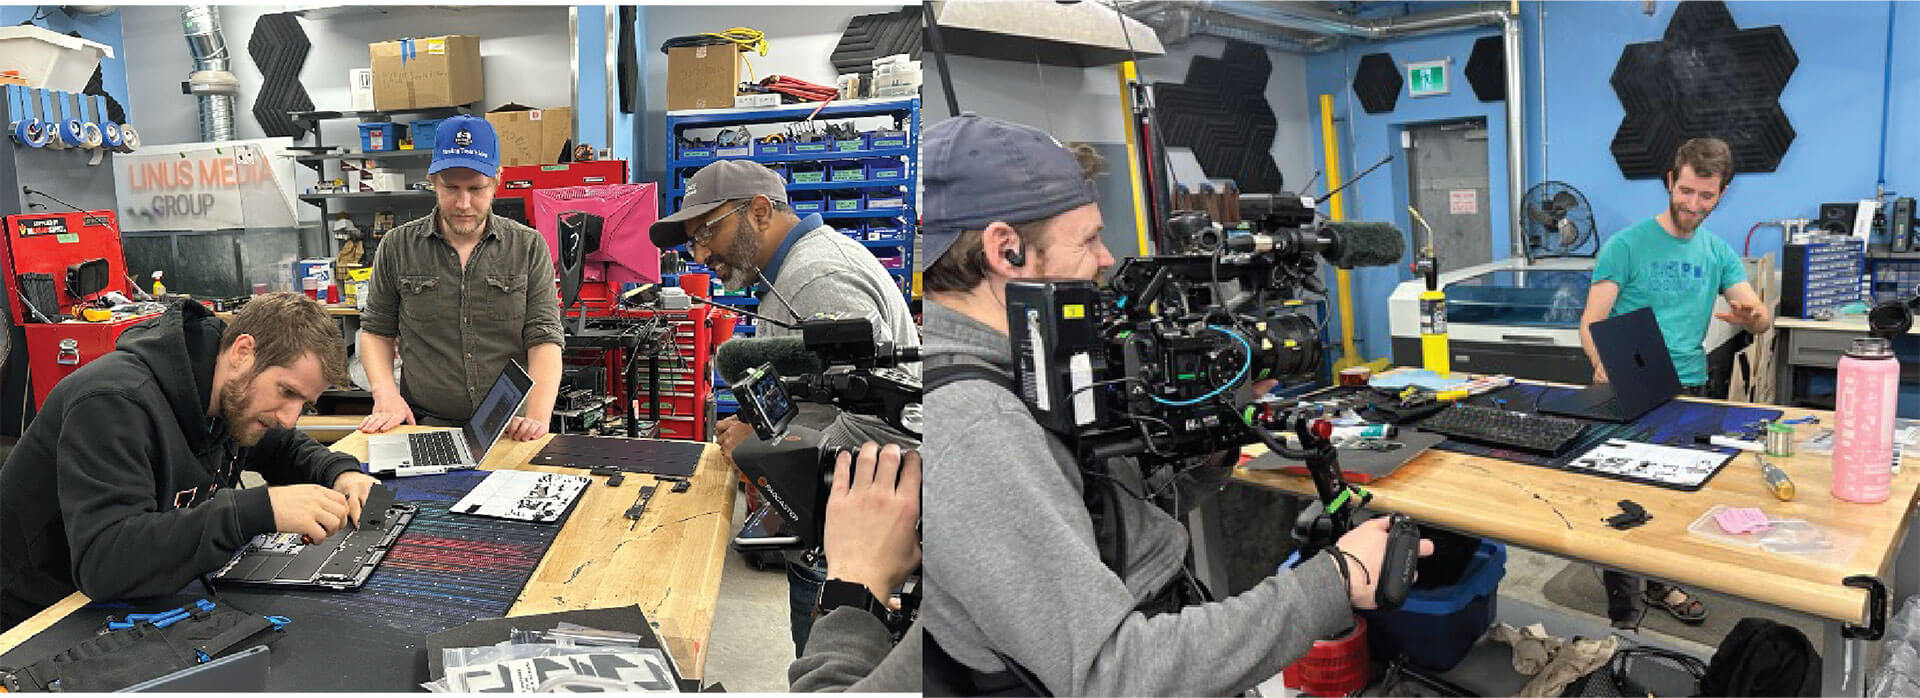
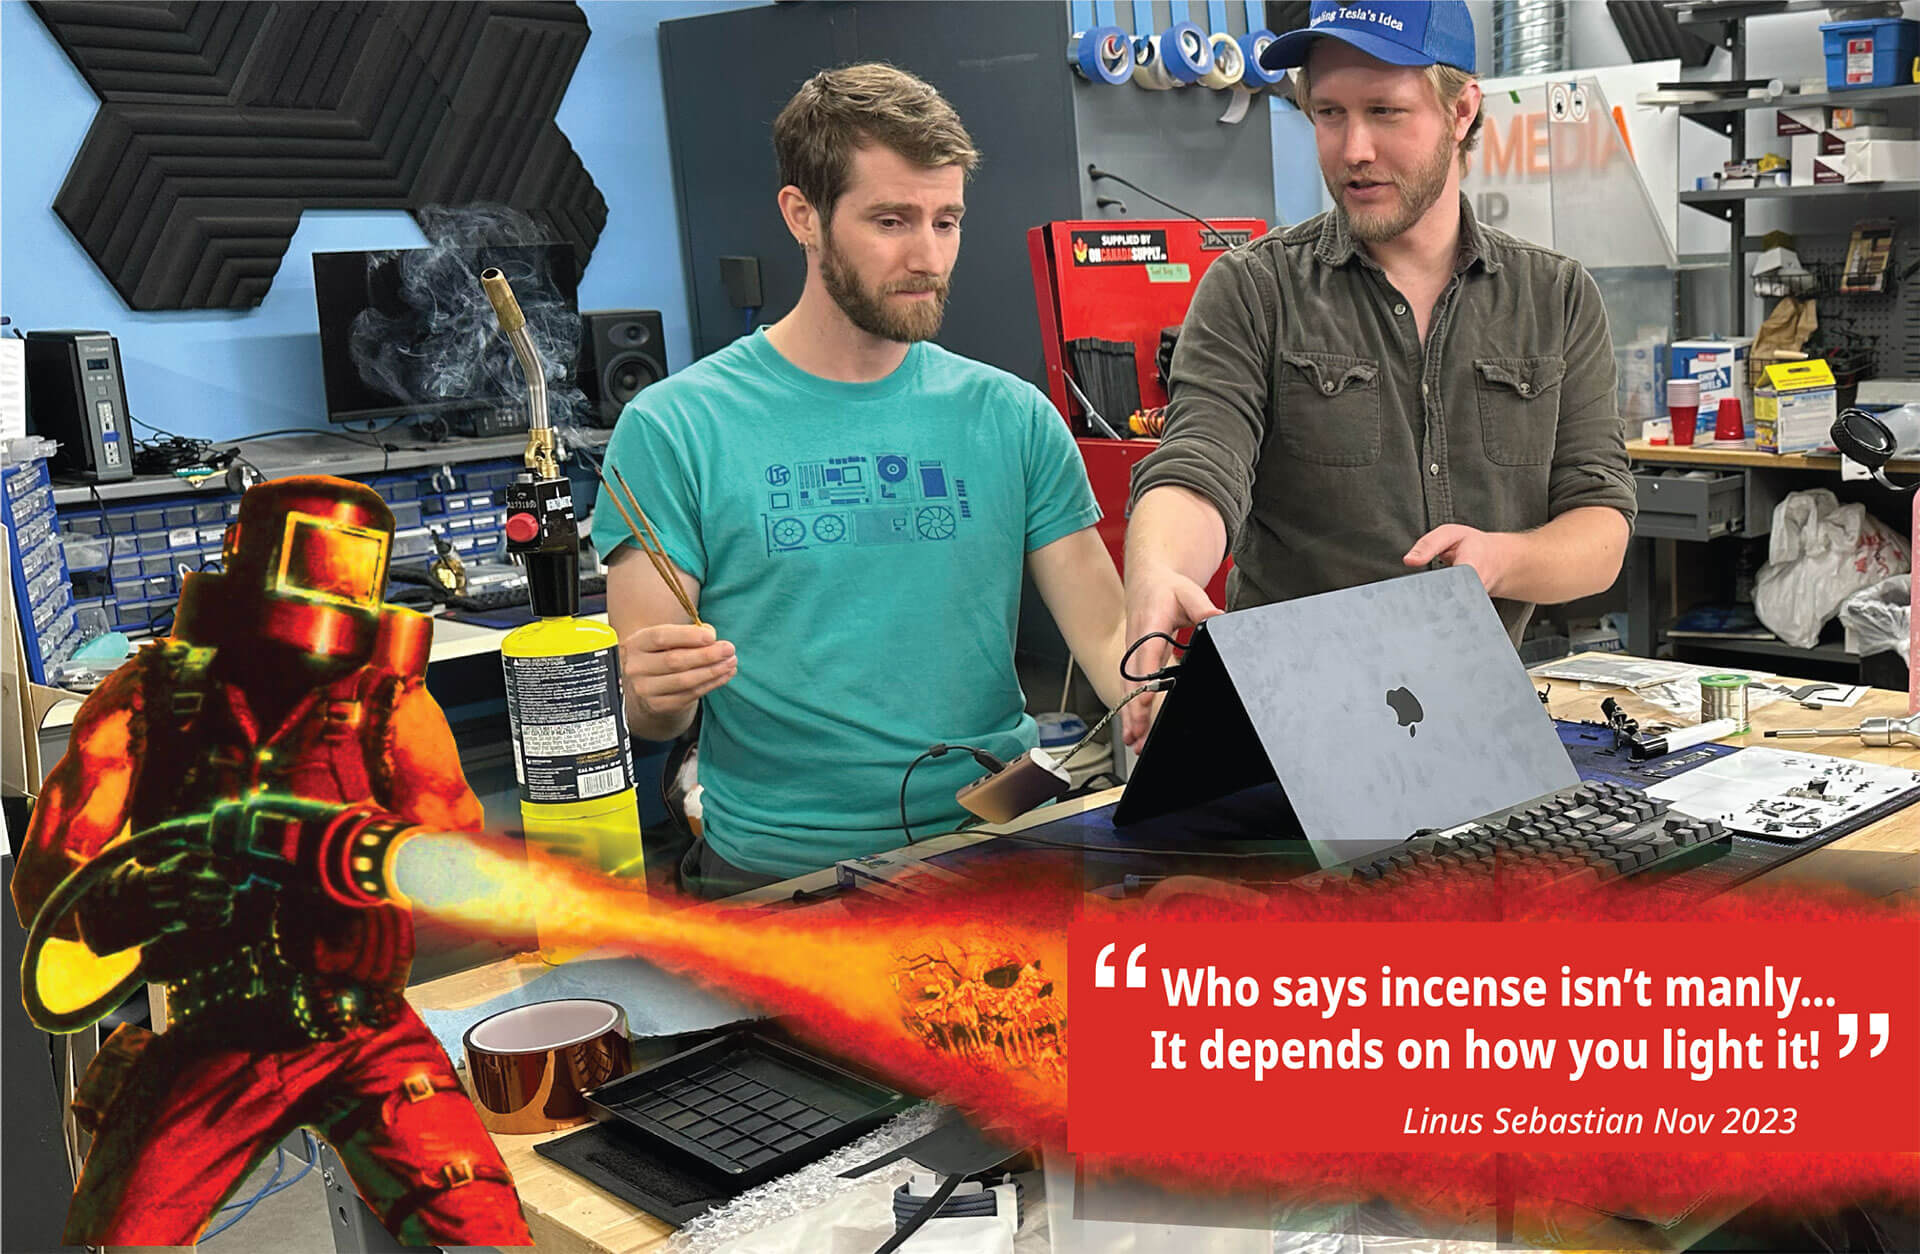
In true Linus style, he needed a slightly crazy way to help viewers understand how the AirJet’s eject the hot air from the MacBook Air…. (Although technically Alex was to blame for the suggestion)…. So, of course, lighting incense with a blow torch and holding it at the AirJet outlets to demonstrate the air flow was the obvious approach. Although, we are the first to confirm that incense lighting isn’t a standard test applied by the Frore Quality Control team – we use Schlieren imaging to show the airflow - no blow torch required. Linus’ quote of the day: “Who says incense isn’t manly… it depends on how you light it!”
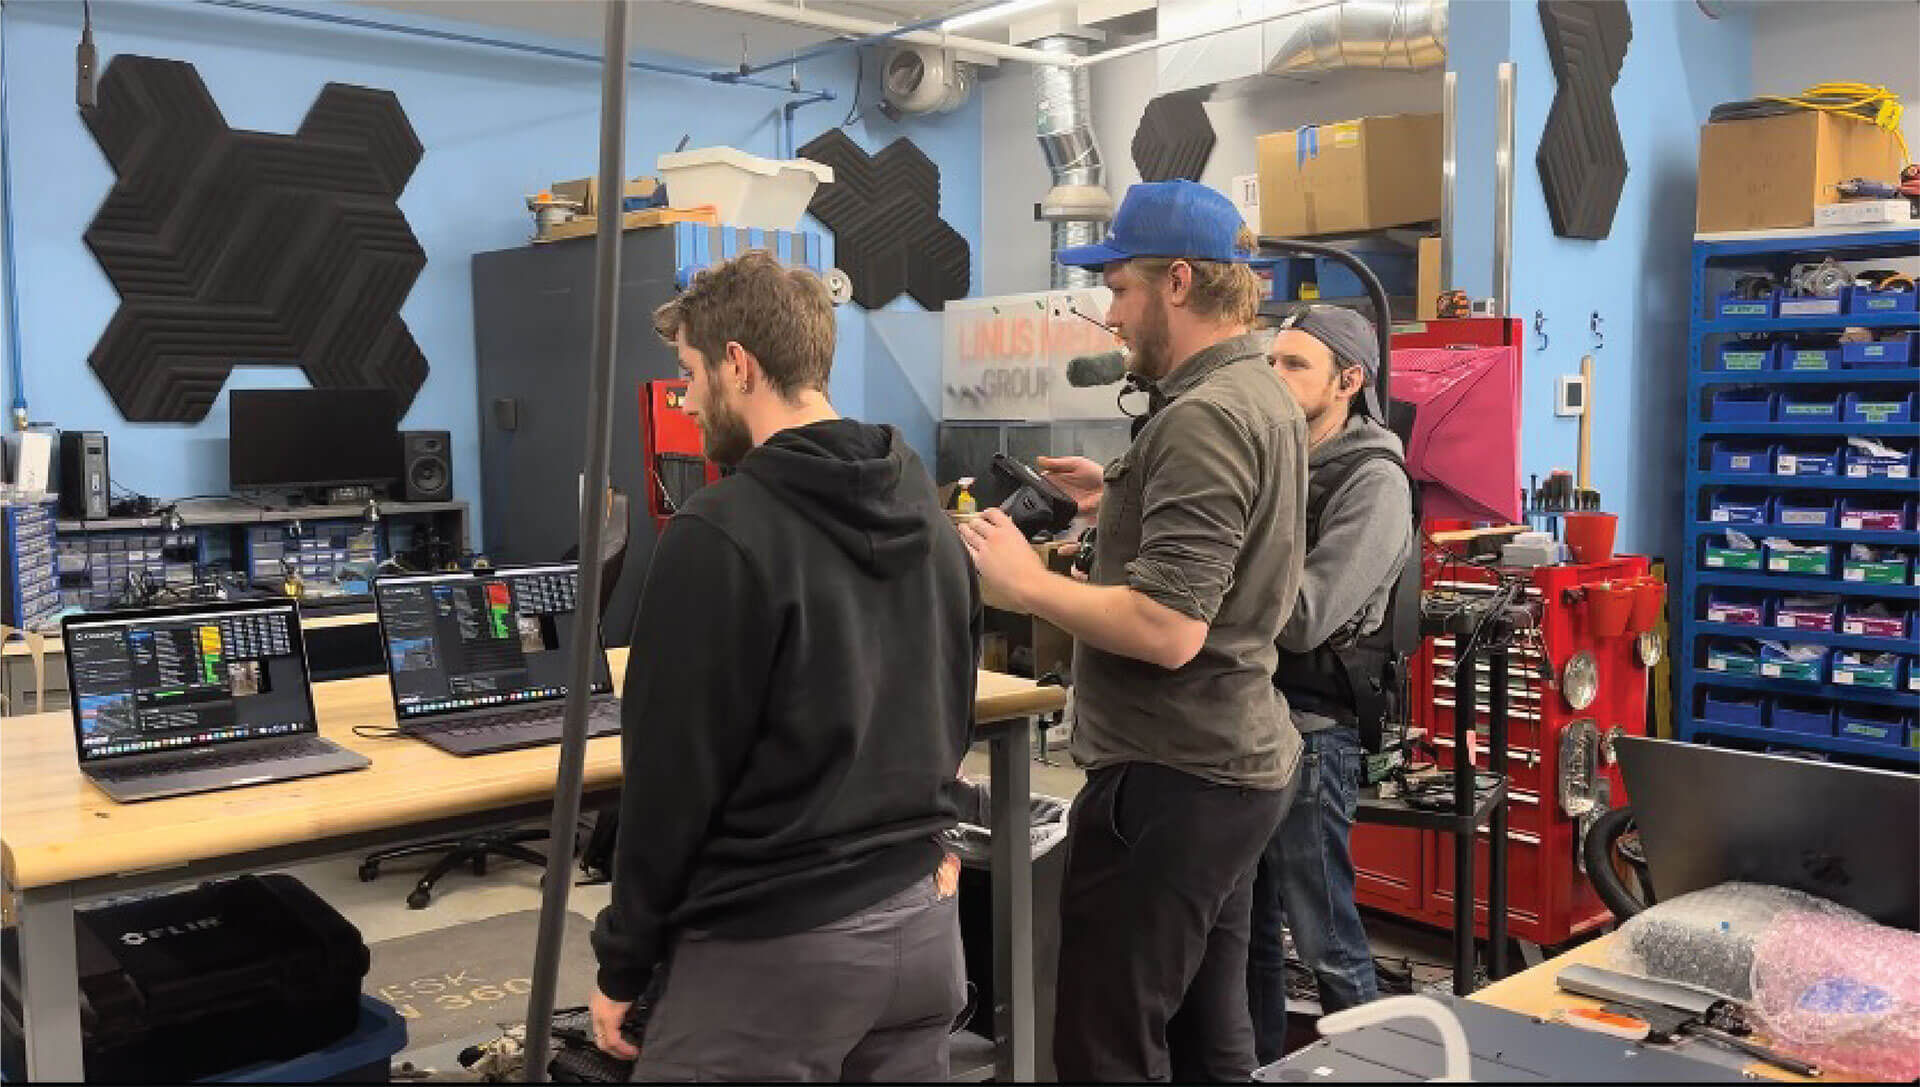
Using a FLIR camera, Alex compared the temperature of the keyboard on the original MacBook Air vs the Upgraded AirJet one. Not only was the AirJet upgraded keyboard cooler, the AirJets also distributed the heat more evenly, eliminating focused hot spots on some of the keys.
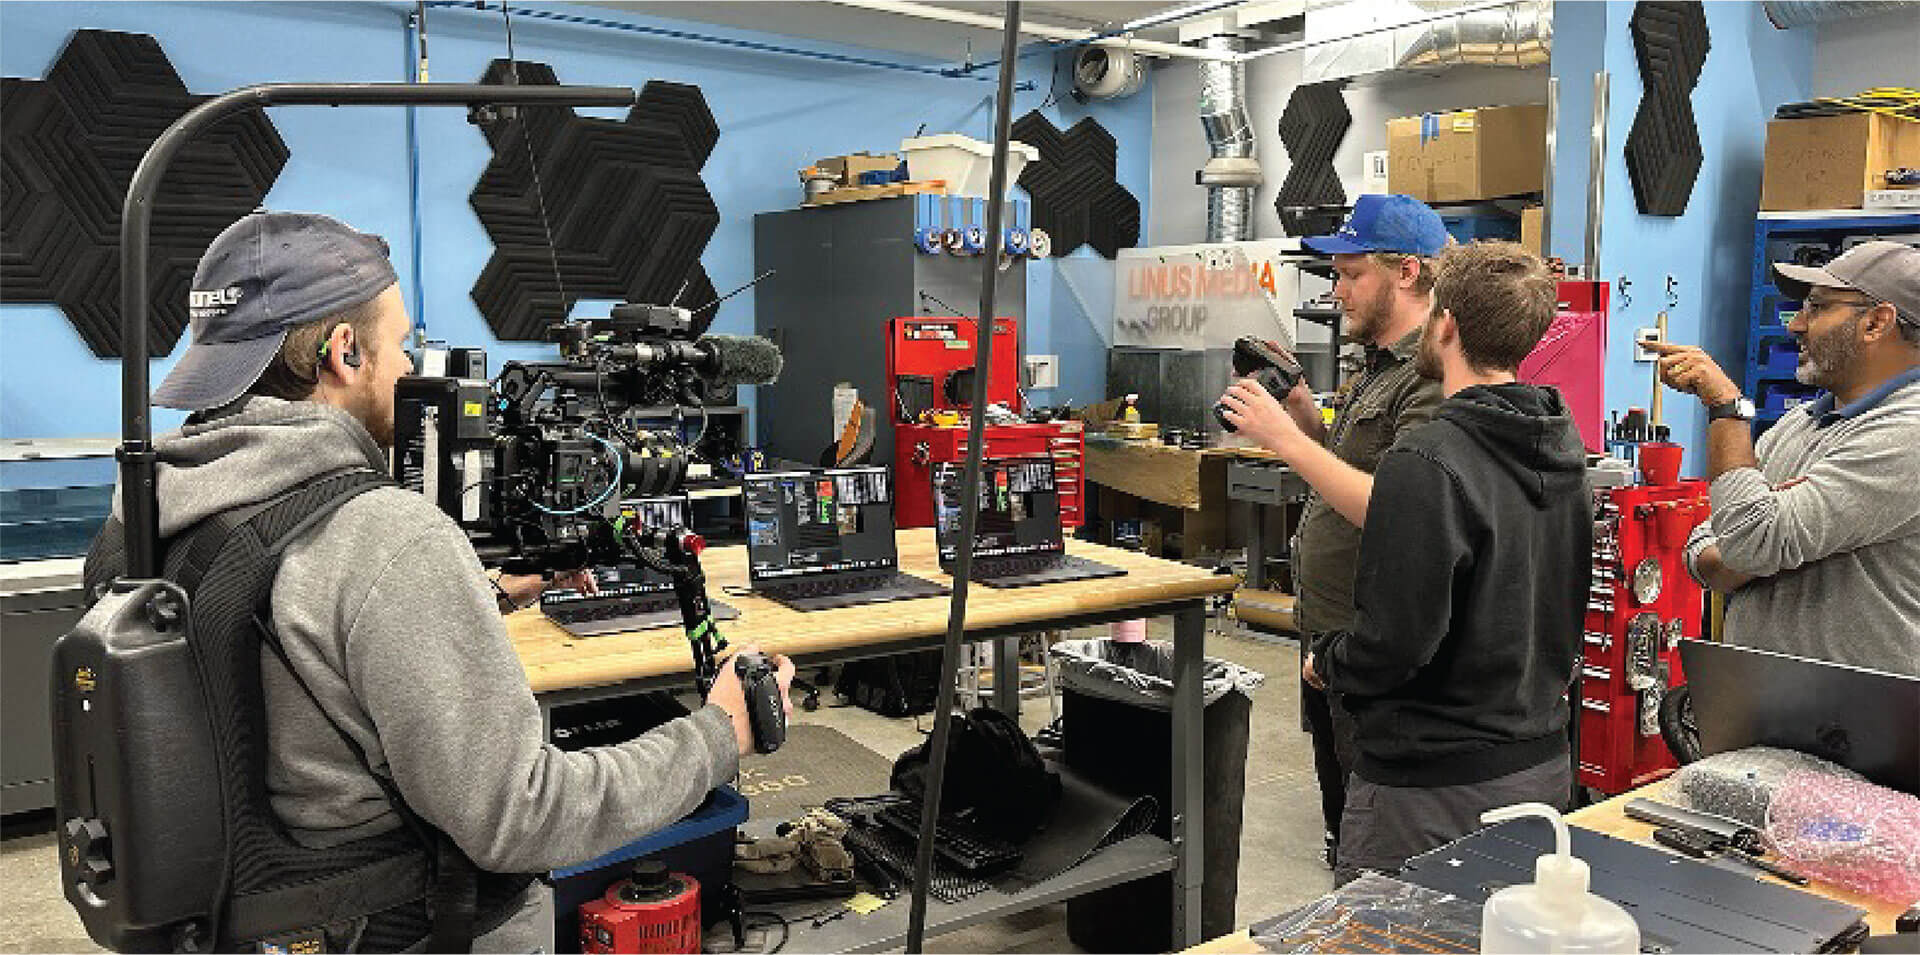
So then it was time for the moment of truth. How did Linus’ upgraded MacBook Air, with its incense tested AirJet Minis, compare to the standard off-the-shelf MacBook Air?
The testing was focused around two key measures:
CINEBENCH SCORE
The Cinebench score is a commonly used relative numeric score. Cinebench is basically a 3D render of a scene, performed by the CPU and repeated as many times as possible within a set time frame. The score is calculated based on how fast the CPU completes the render. Since it utilizes all of the CPU’s cores almost completely, it gives an idea of the total multi-threaded performance of the CPU.
The ‘Combined CPU, GPU and ANE Power’
Power, measured in watts, represents the amount of work the laptop’s SoC is able to handle at any given time. A higher number means more power can be dedicated to running a particular task, allowing you to impose greater stress on the CPU before it starts to throttle. We were able to log the power directly from the MacBook via a Terminal command. The published number is the average of the power over a 30-minute Cinebench R23 (Multi-Core) workload.
Linus and Alex closely monitored the notebooks throughout the standard 30 min CINEBENCH Cinebench R23 Stability test.
THE RESULT: Linus’ MacBook Air, upgraded with AirJet Minis, passed with flying colors, well surpassing off-the-shelf MacBook Air’s Performance and matching the MacBook Pro’s.
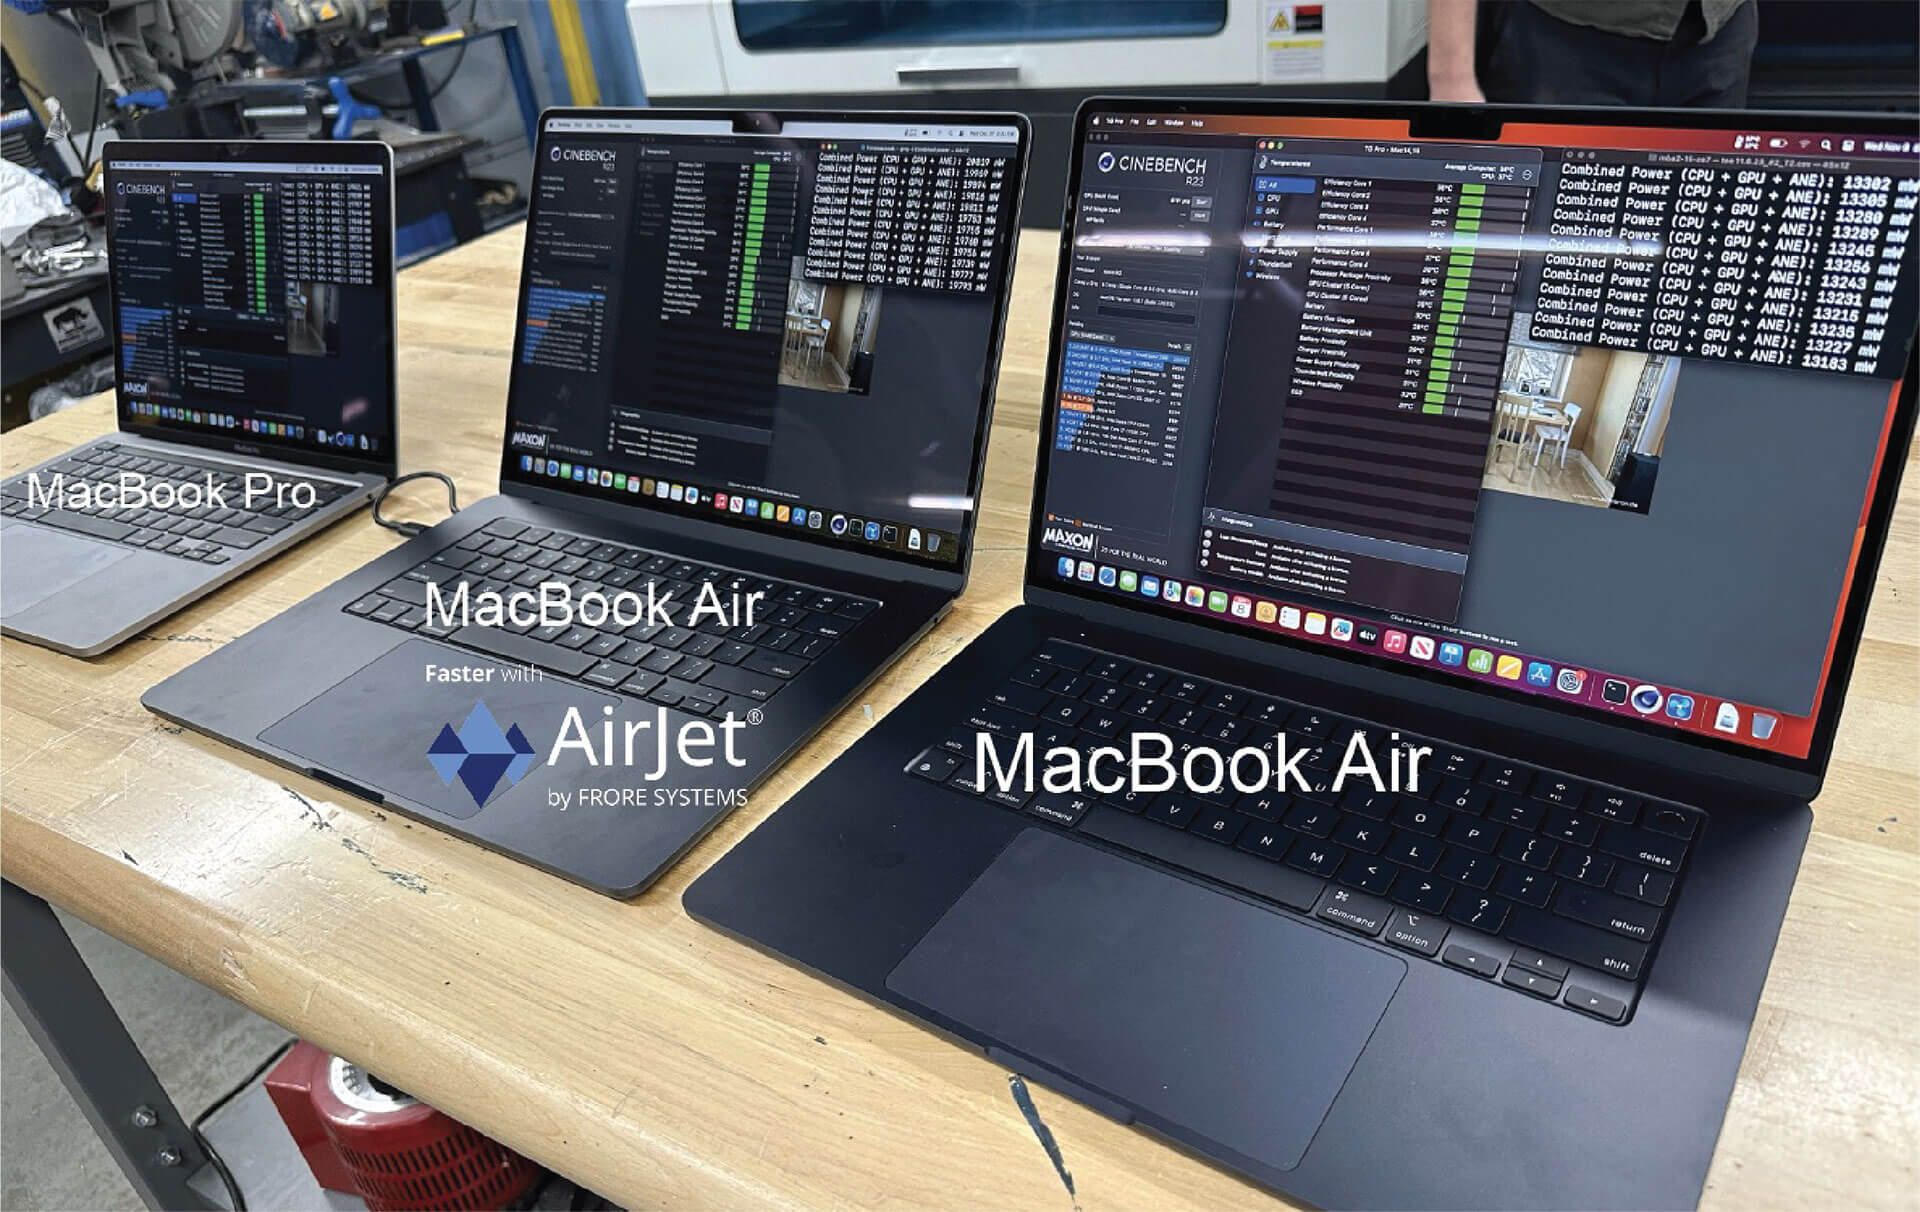
The actual scores achieved during the LTT video with Linus’ MacBook Air upgraded with AirJet were:
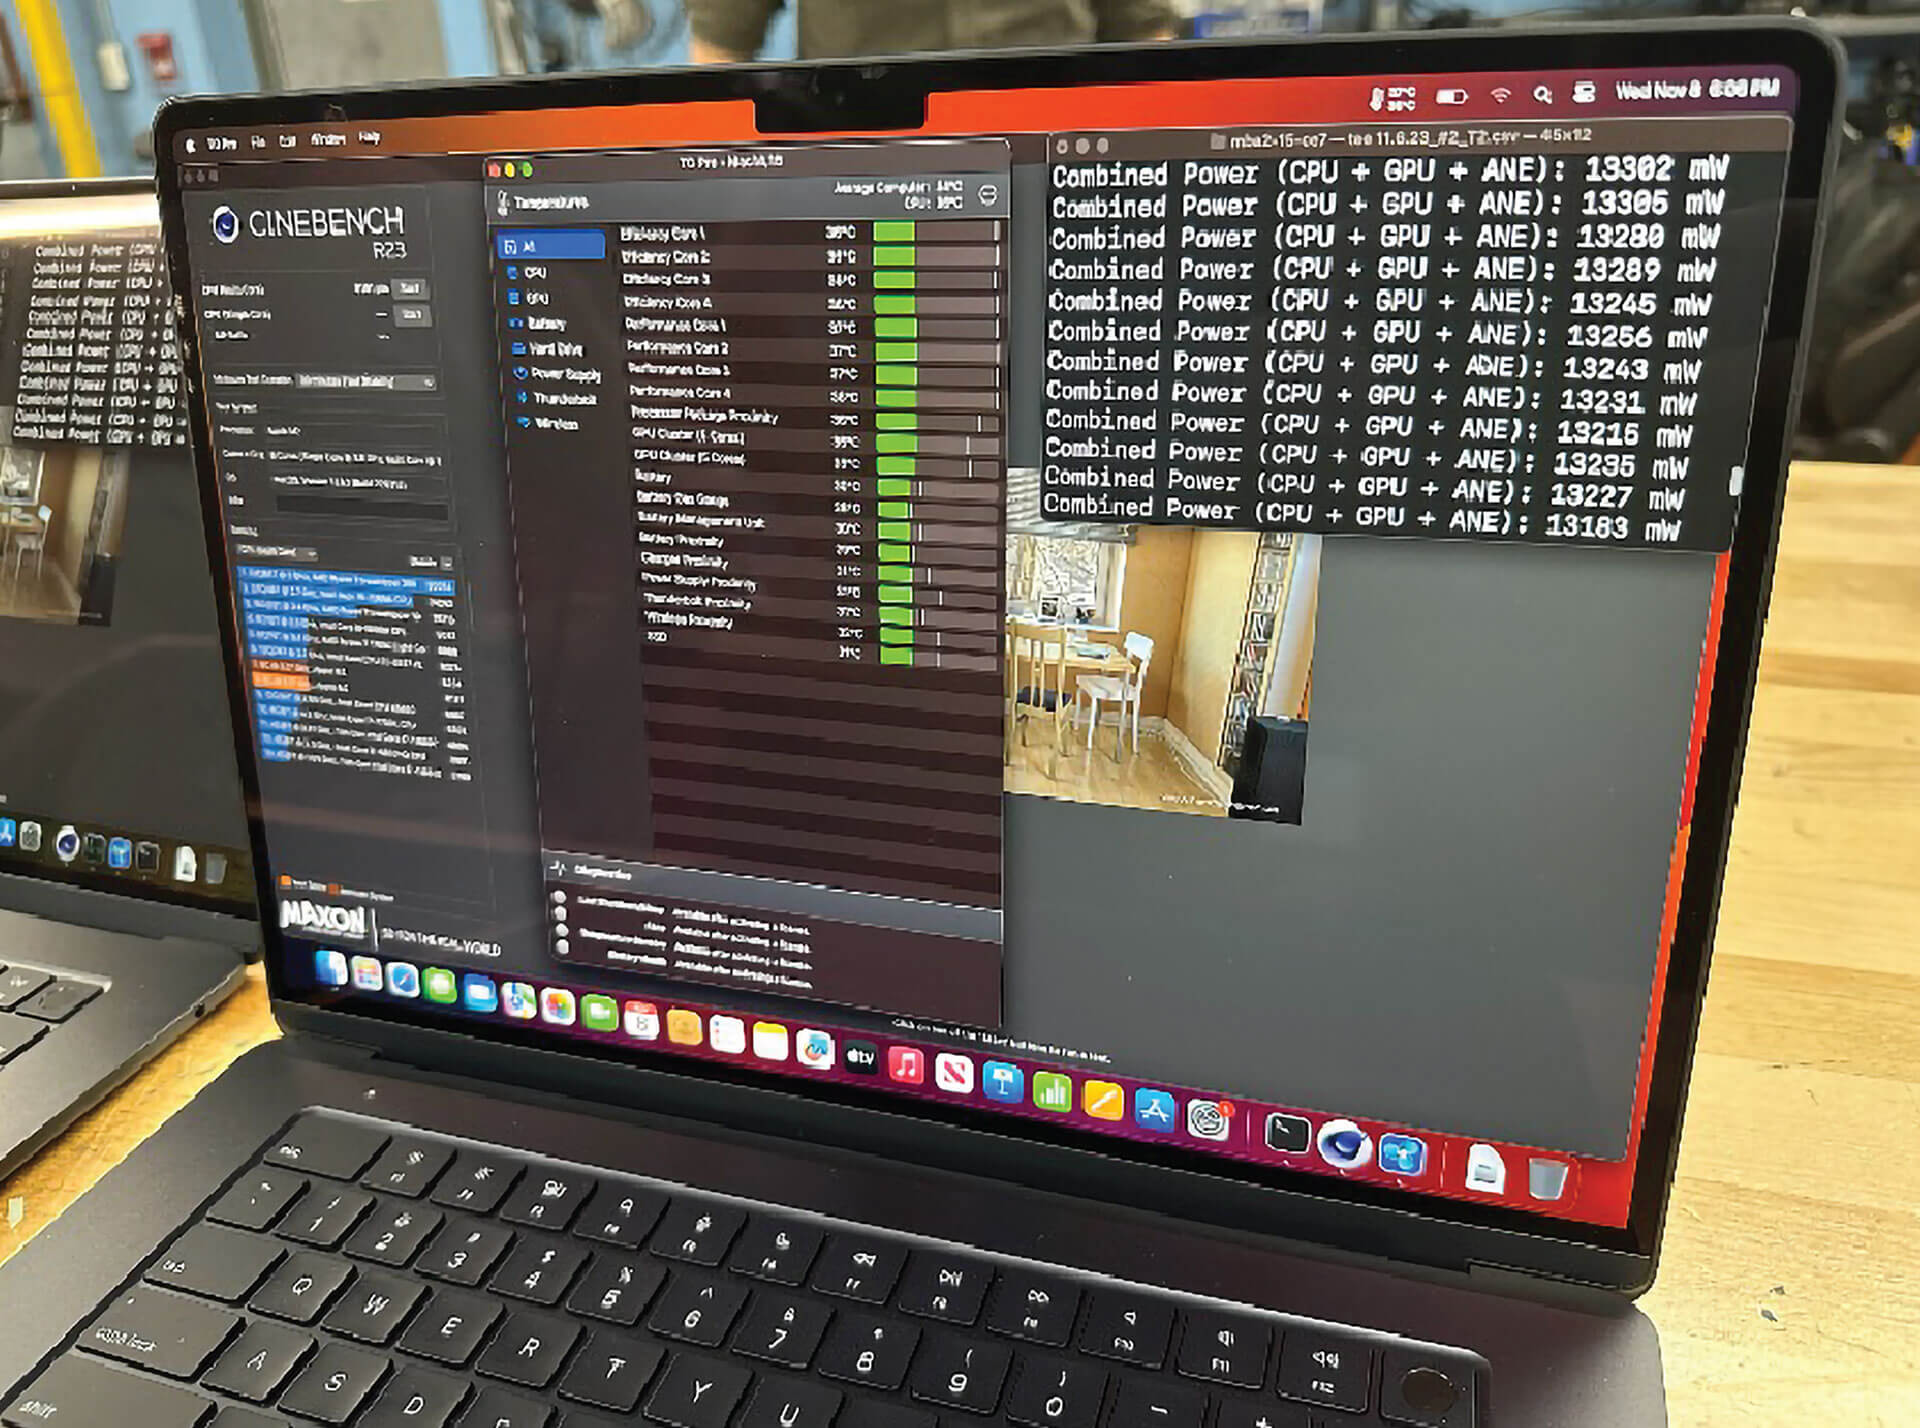
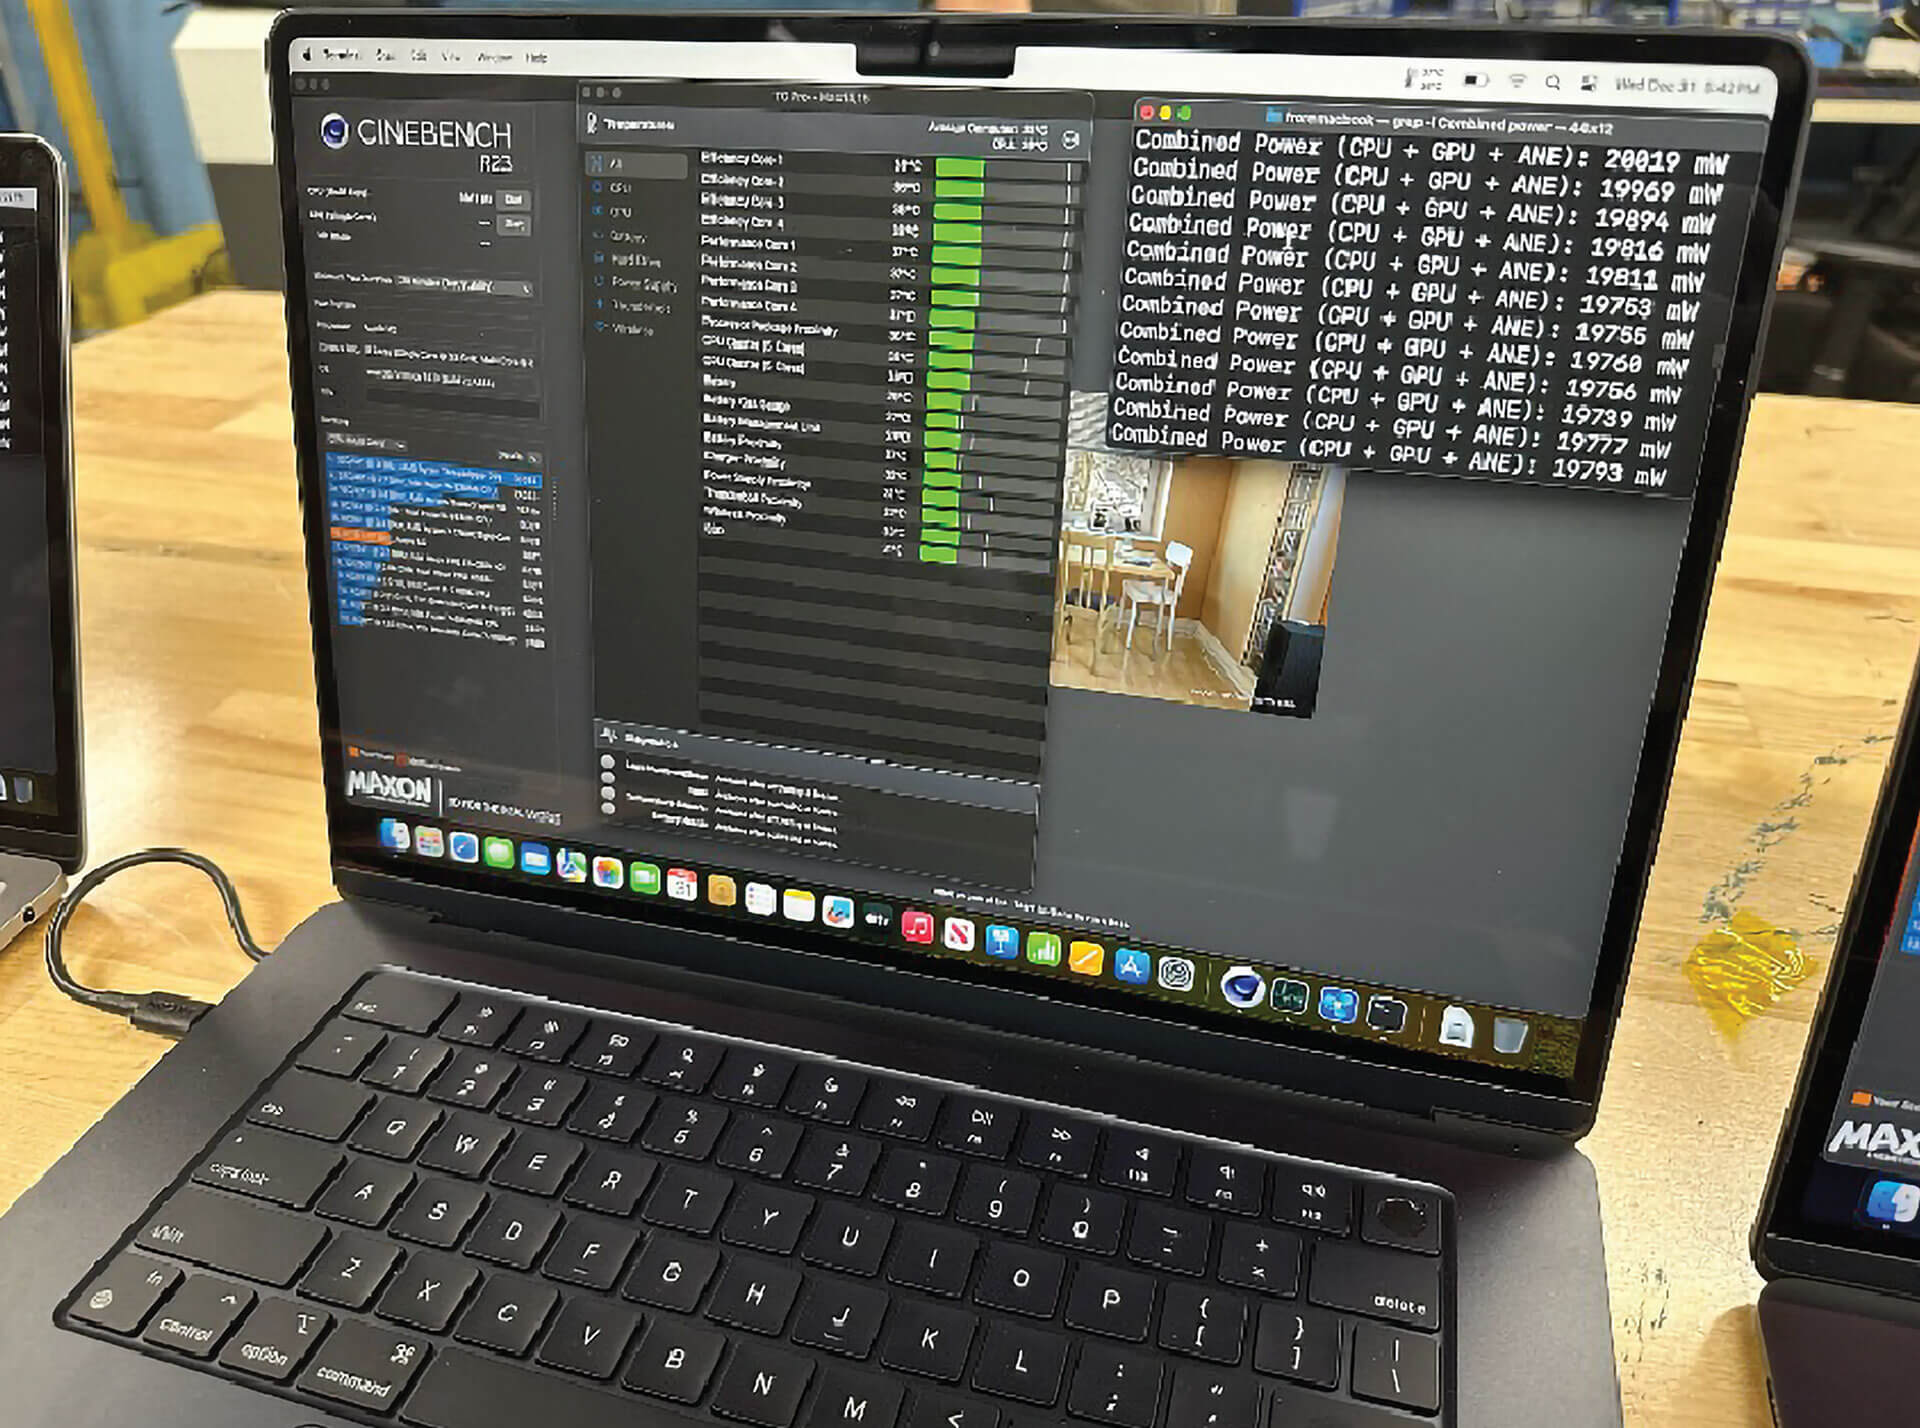
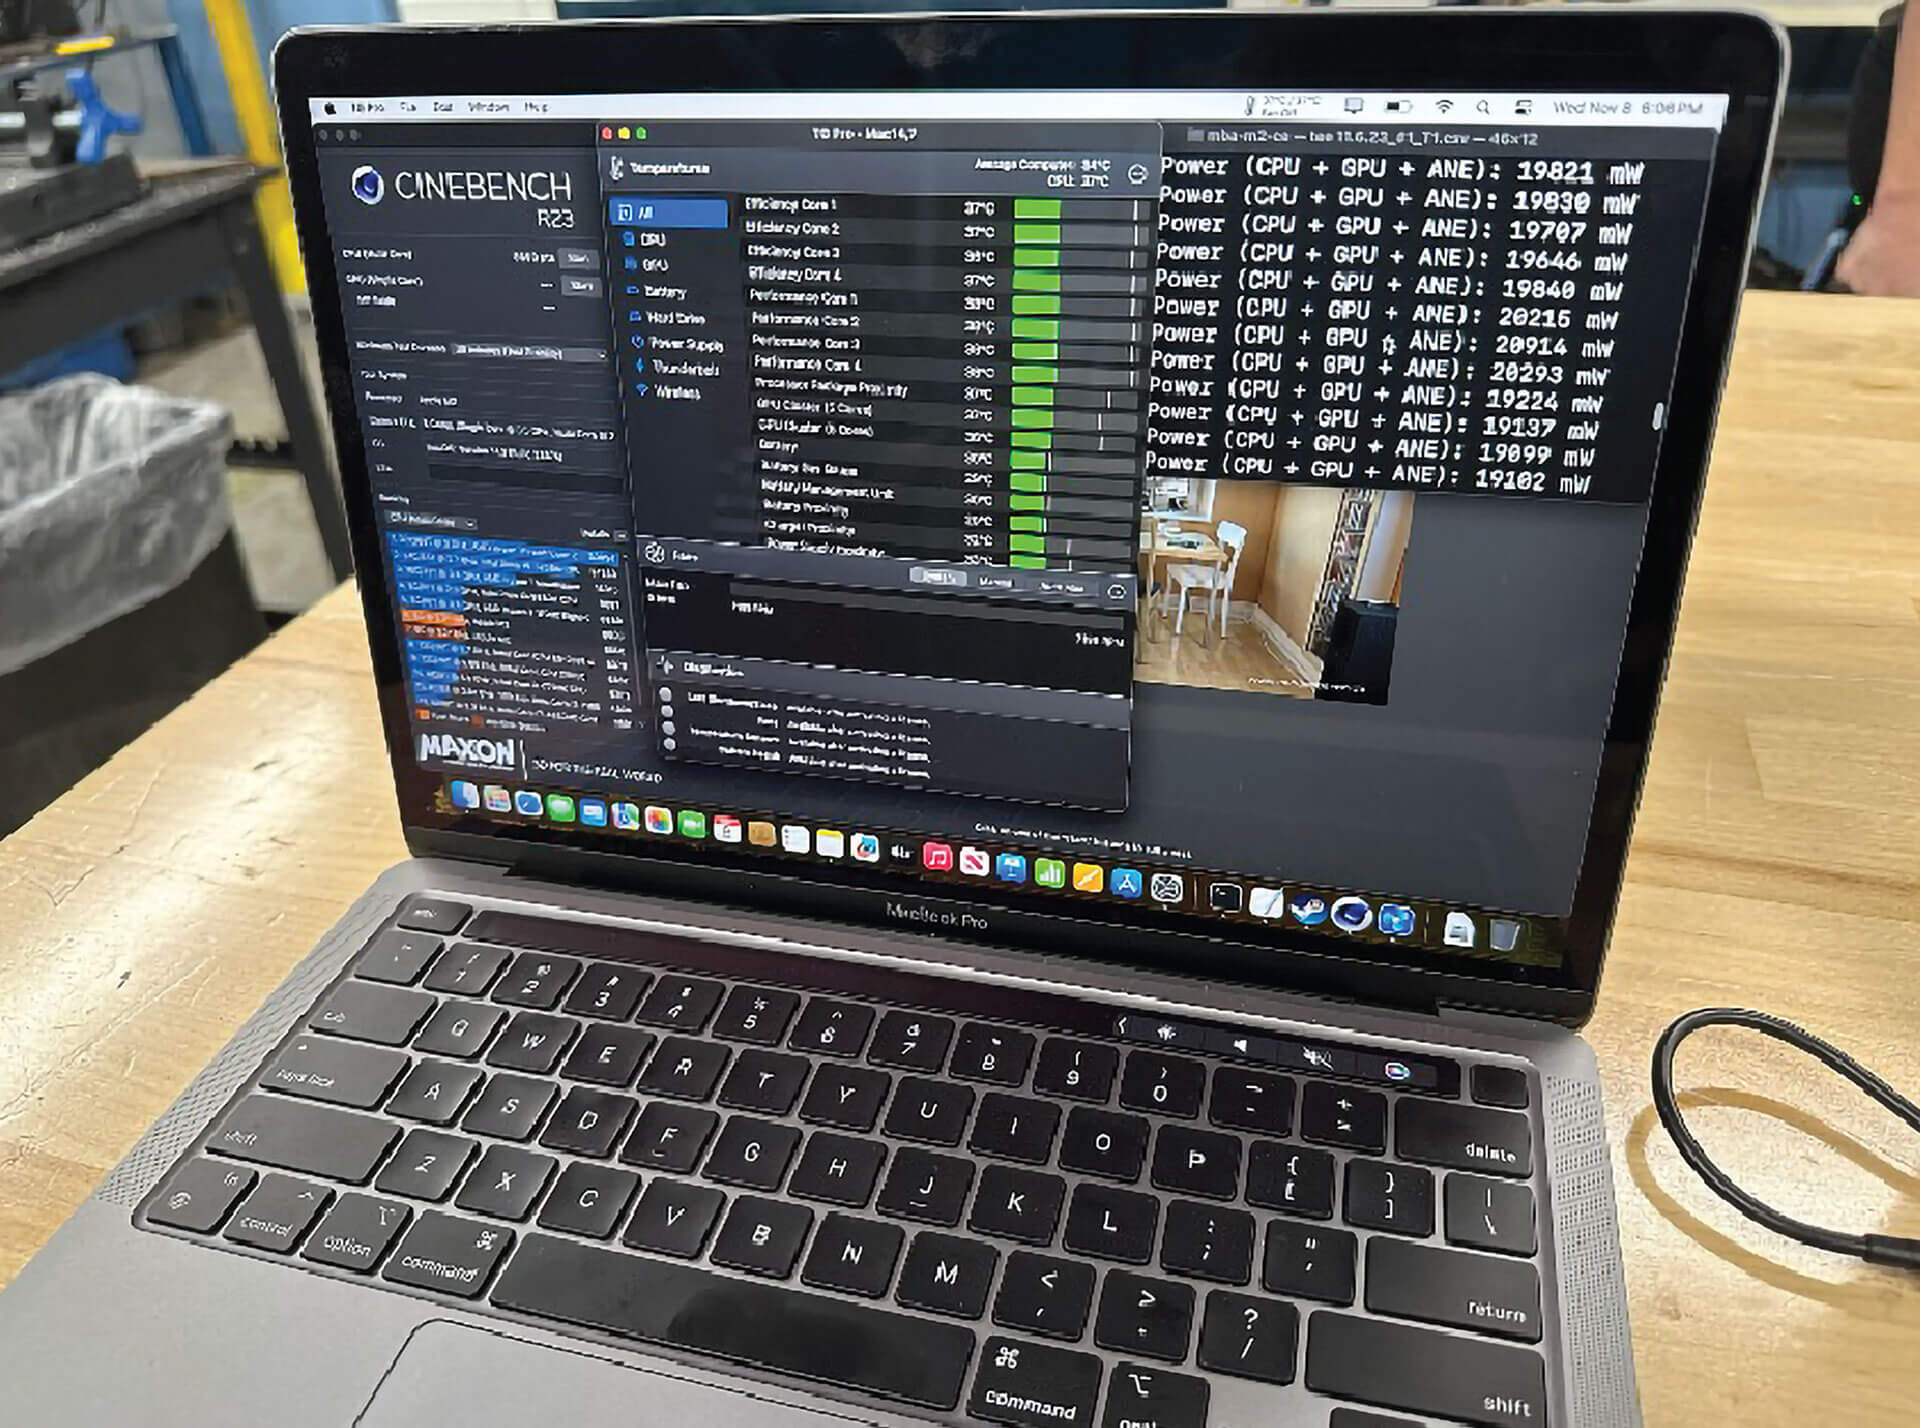
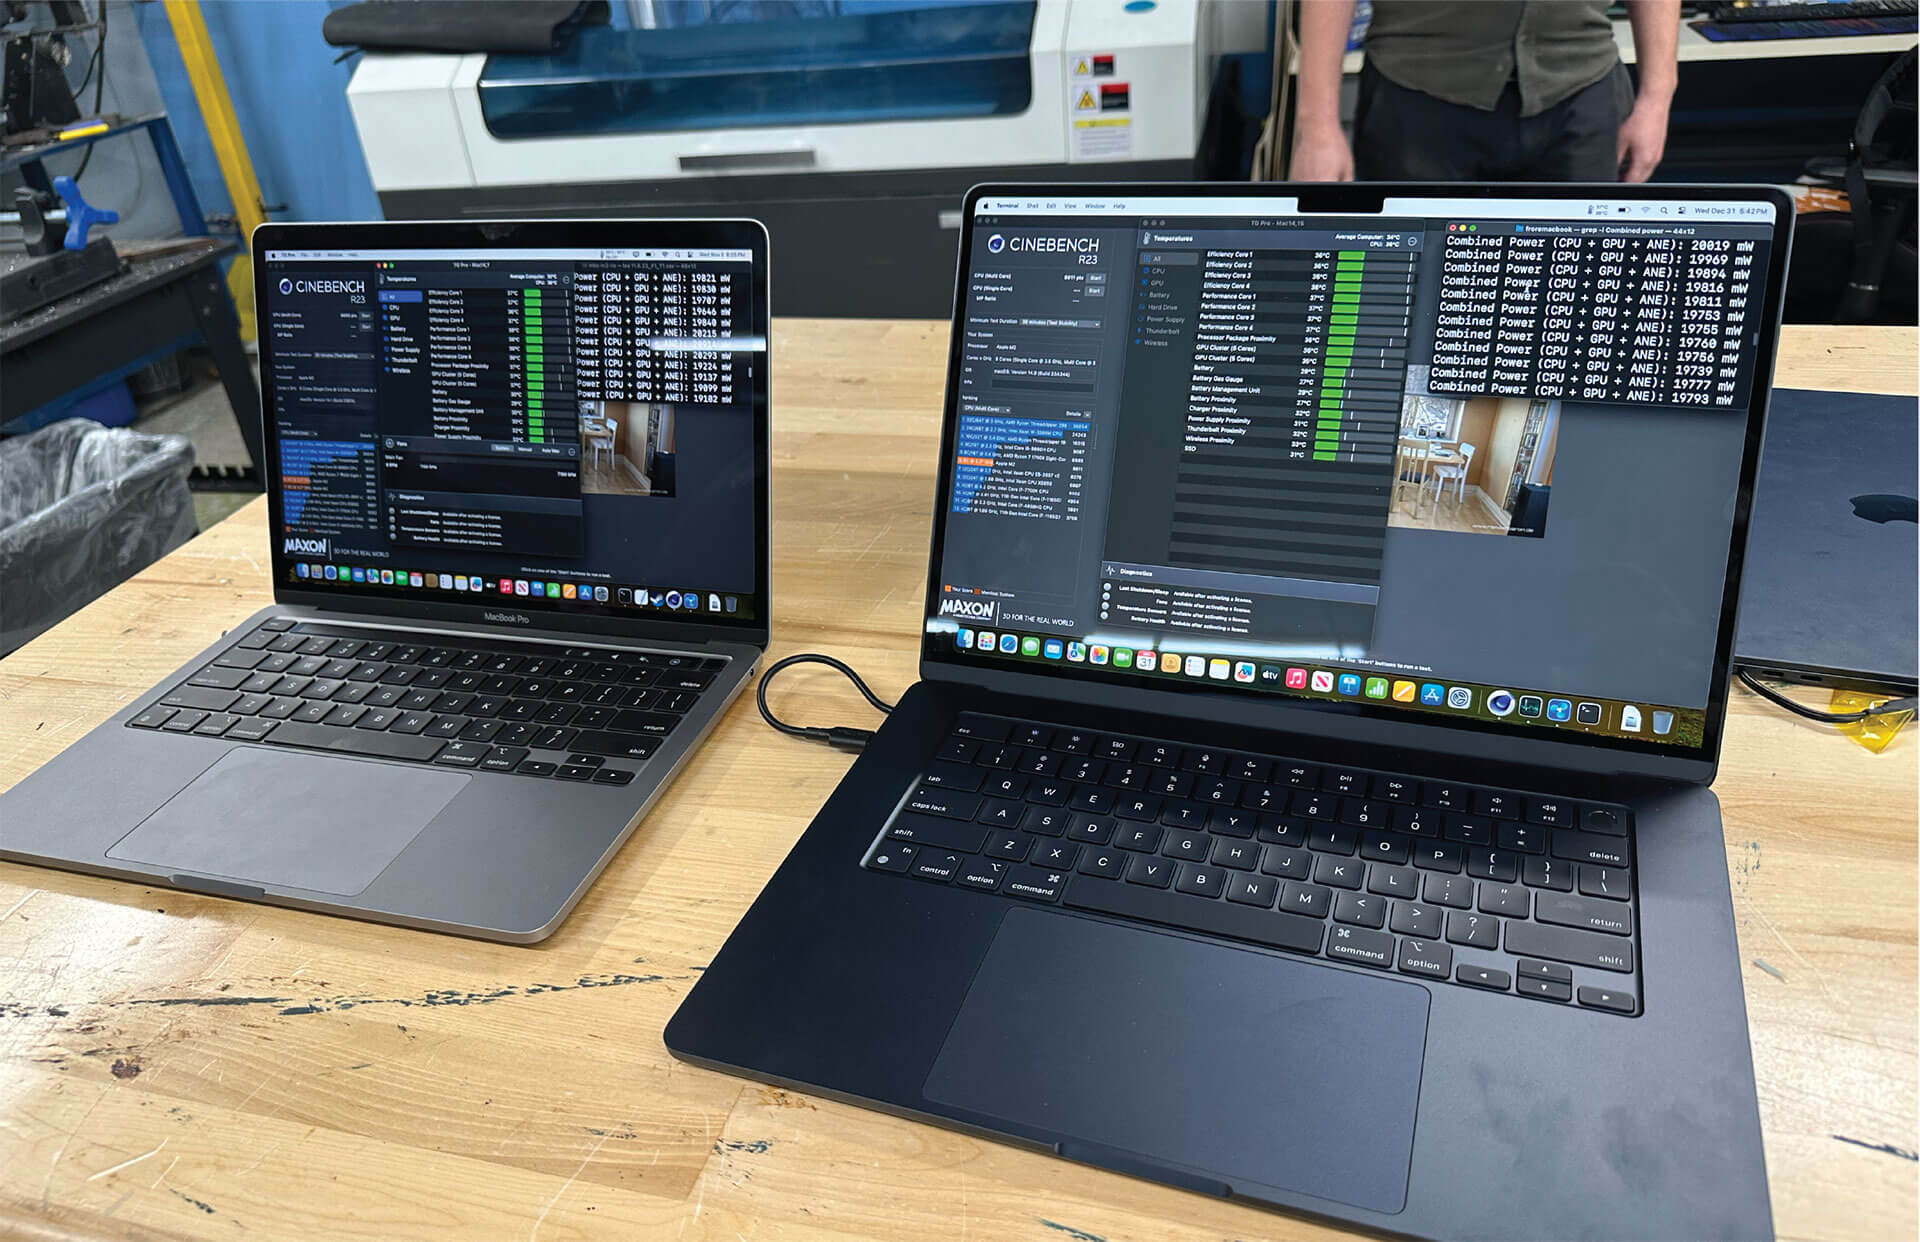
Side-by-side comparison of the off-the-shelf MacBook Pro and MacBook Air upgraded with AirJet
MacBook Pro: 19.18W
MacBook Air Upgraded with AirJet: 19.79W
After a brief celebration of his own technical upgrading skills and the demonstrated performance improvement in the MacBook Air successful upgraded with Airjet, Linus took us for a second tour of the LTT HQ before we left for the day. (Read our upcoming Behind-the-Scenes LTT HQ Tour Blog for the complete LTT HQ Tour experience.)
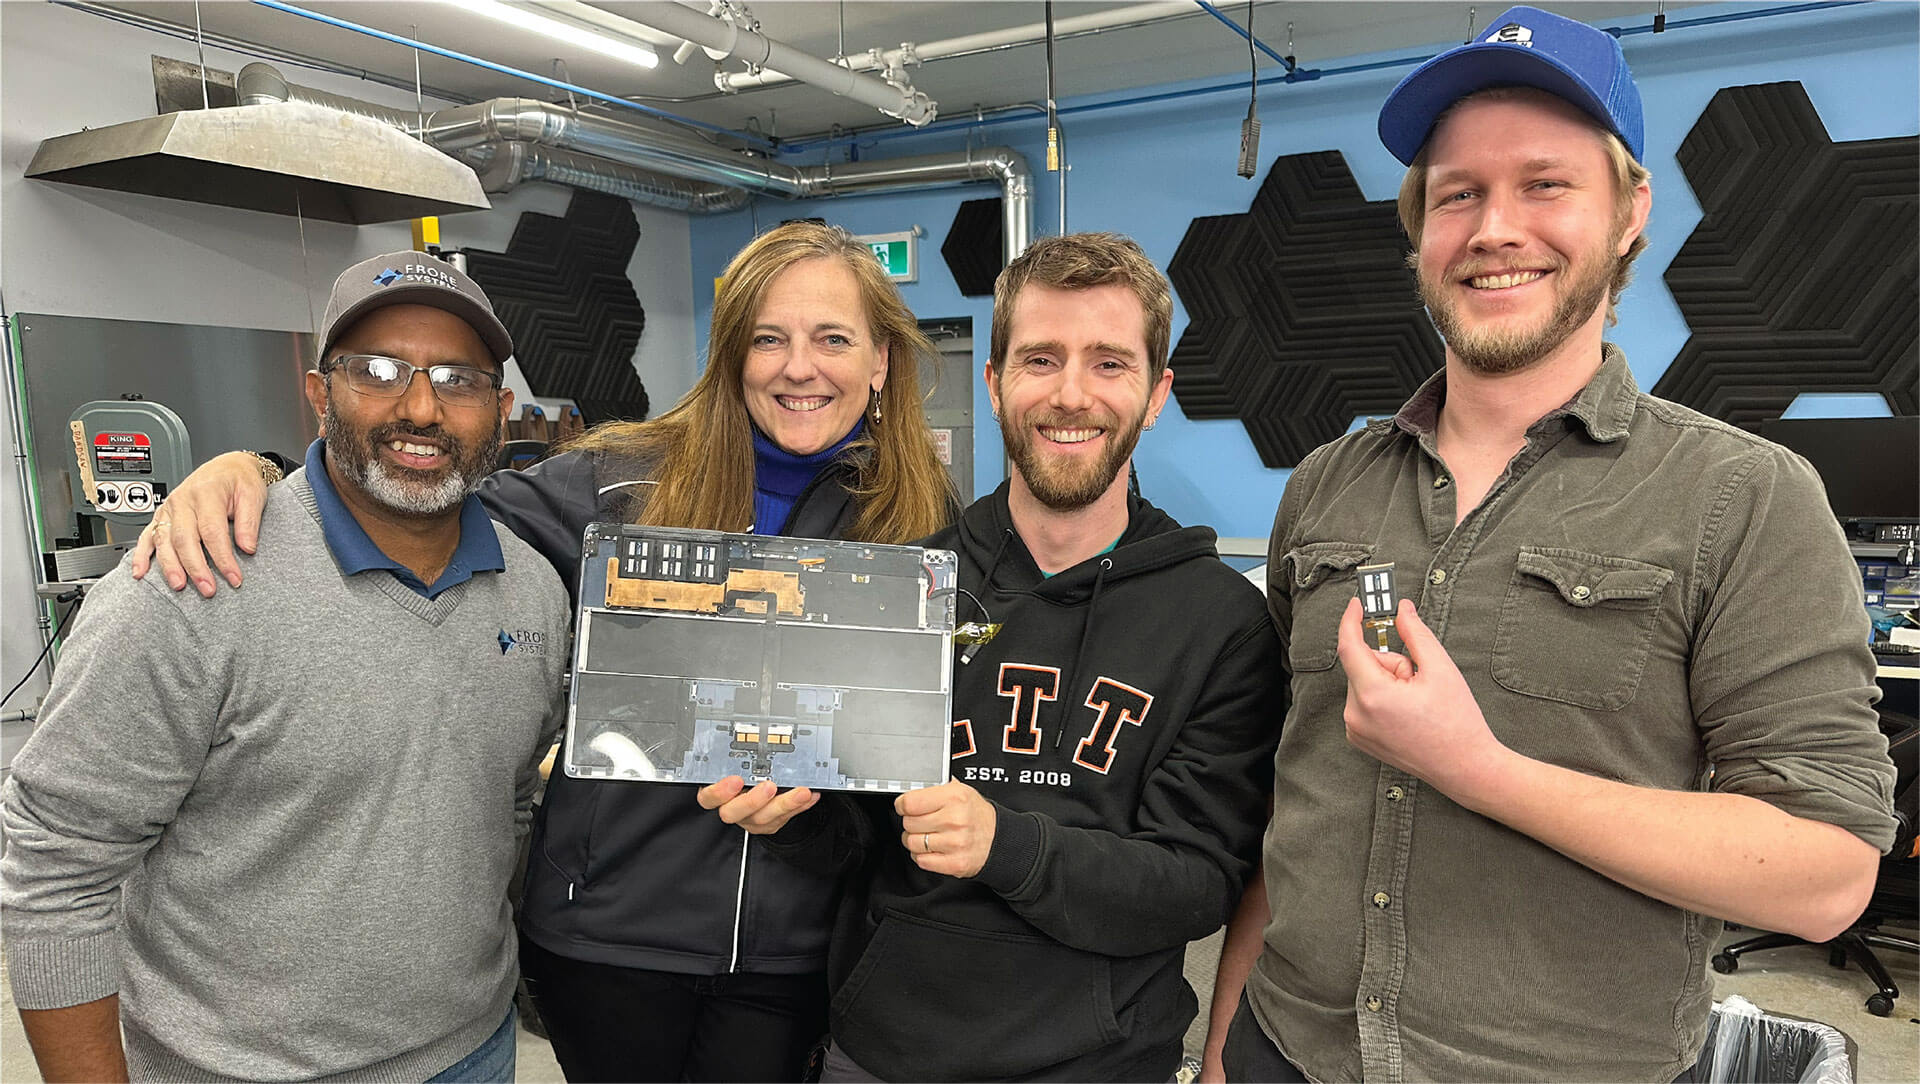
In summary, the Frore Systems’ team had an unforgetable day at the LTT headquarters. We’d like to thank the LTT team for their hospitality and their expertise in the build and evaluation of the MacBook Air upgraded with AirJet Minis.
It was a great day for Frore Systems, seeing all the hard work put into designing the performance upgrade of the MacBook Air with Airjet being showcased by the LTT team. There was a lot of cheering in the Frore Systems’ offices when the final video launched on the LTT YouTube Channel!


